RSS
Showing posts with label Bread. Show all posts

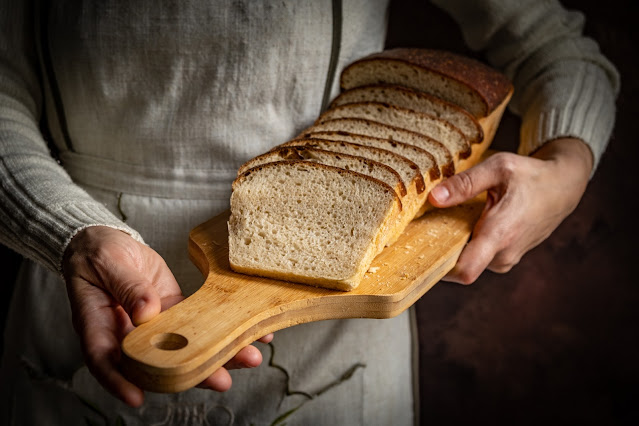
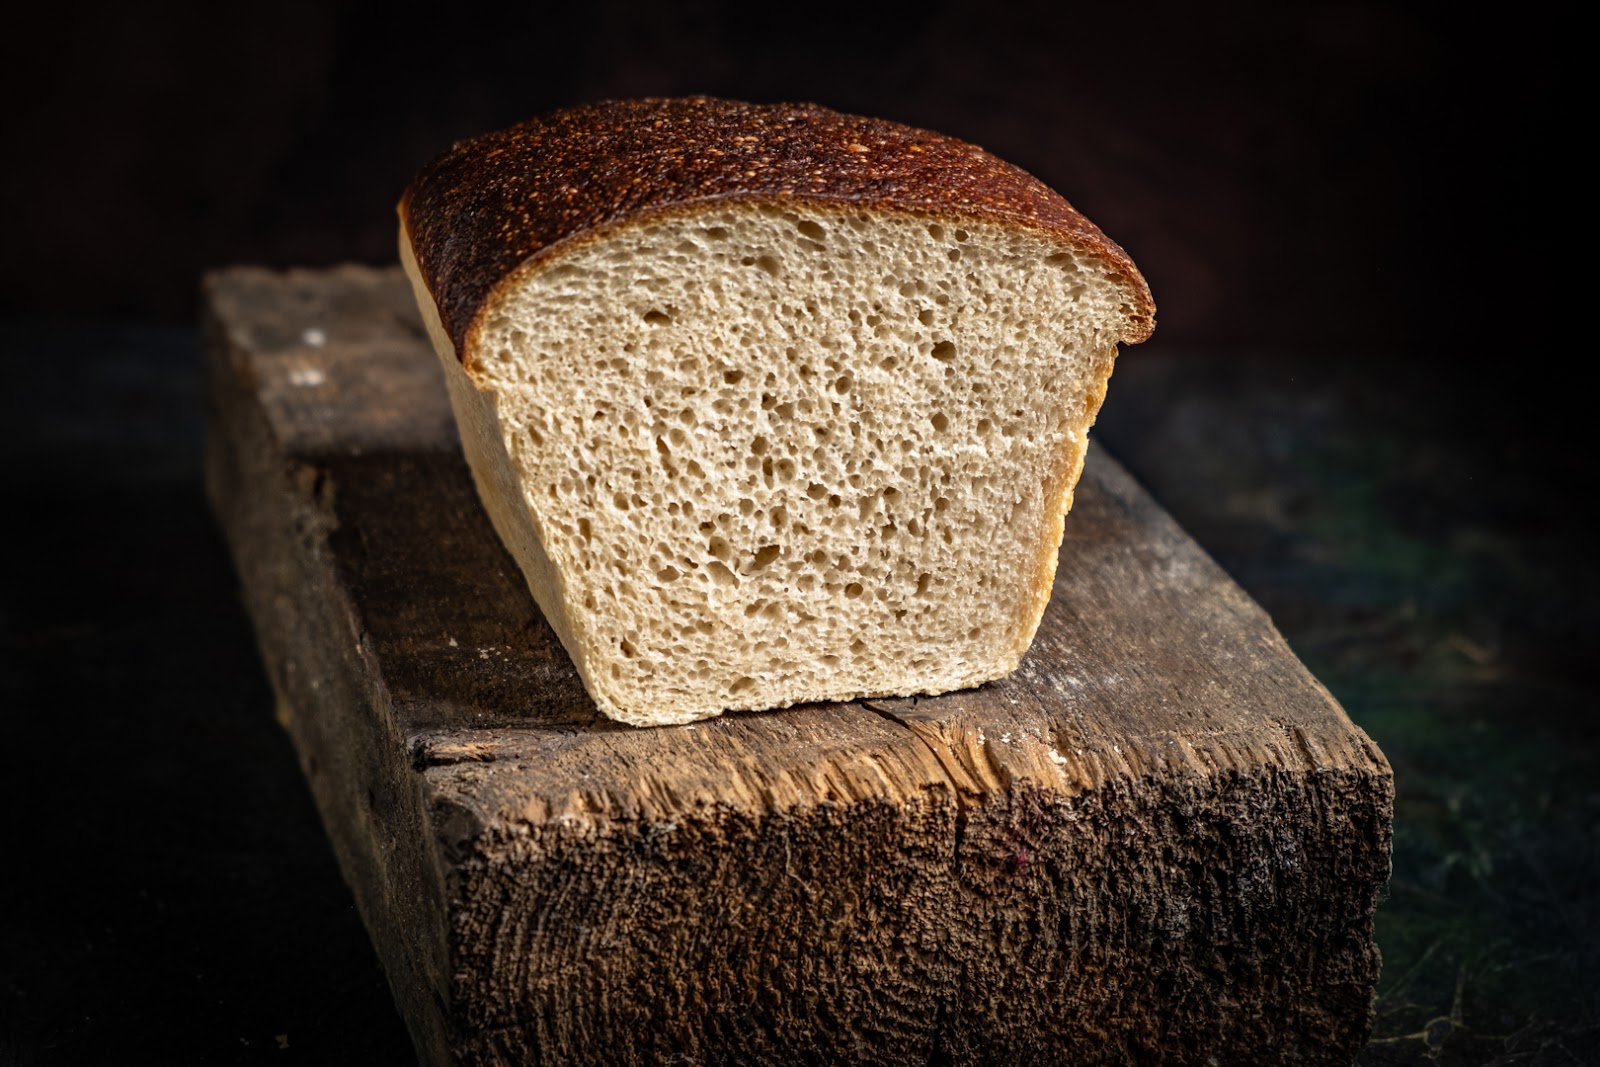
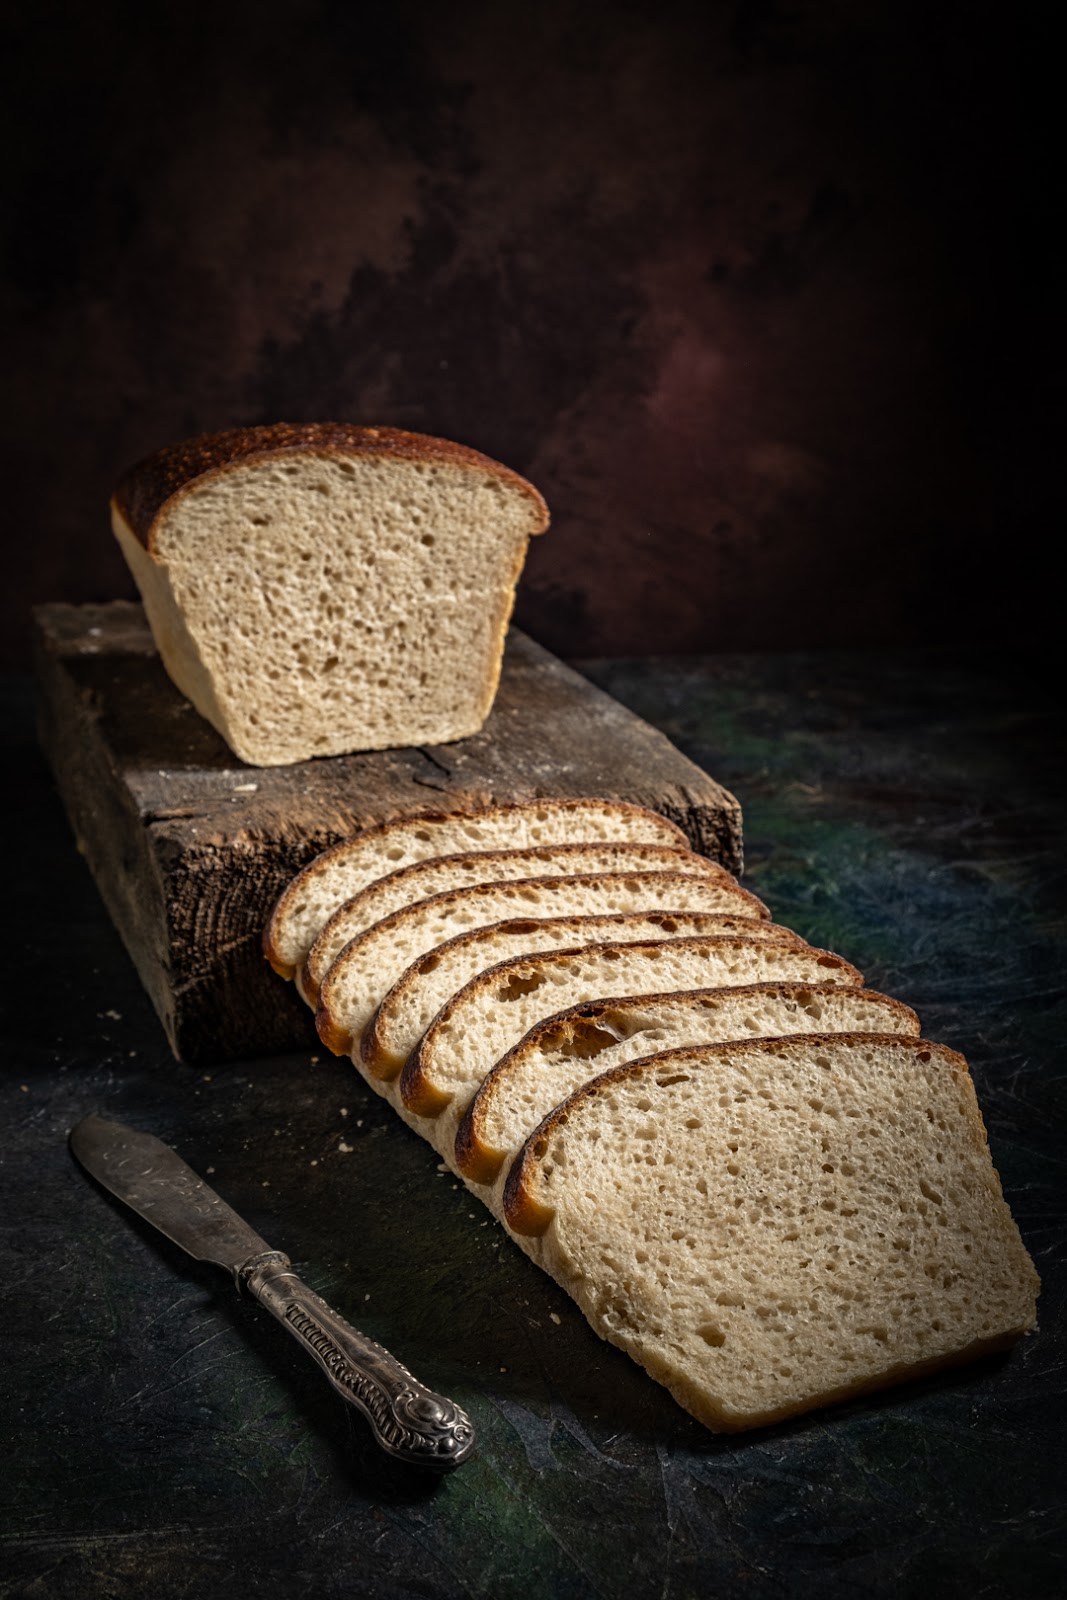
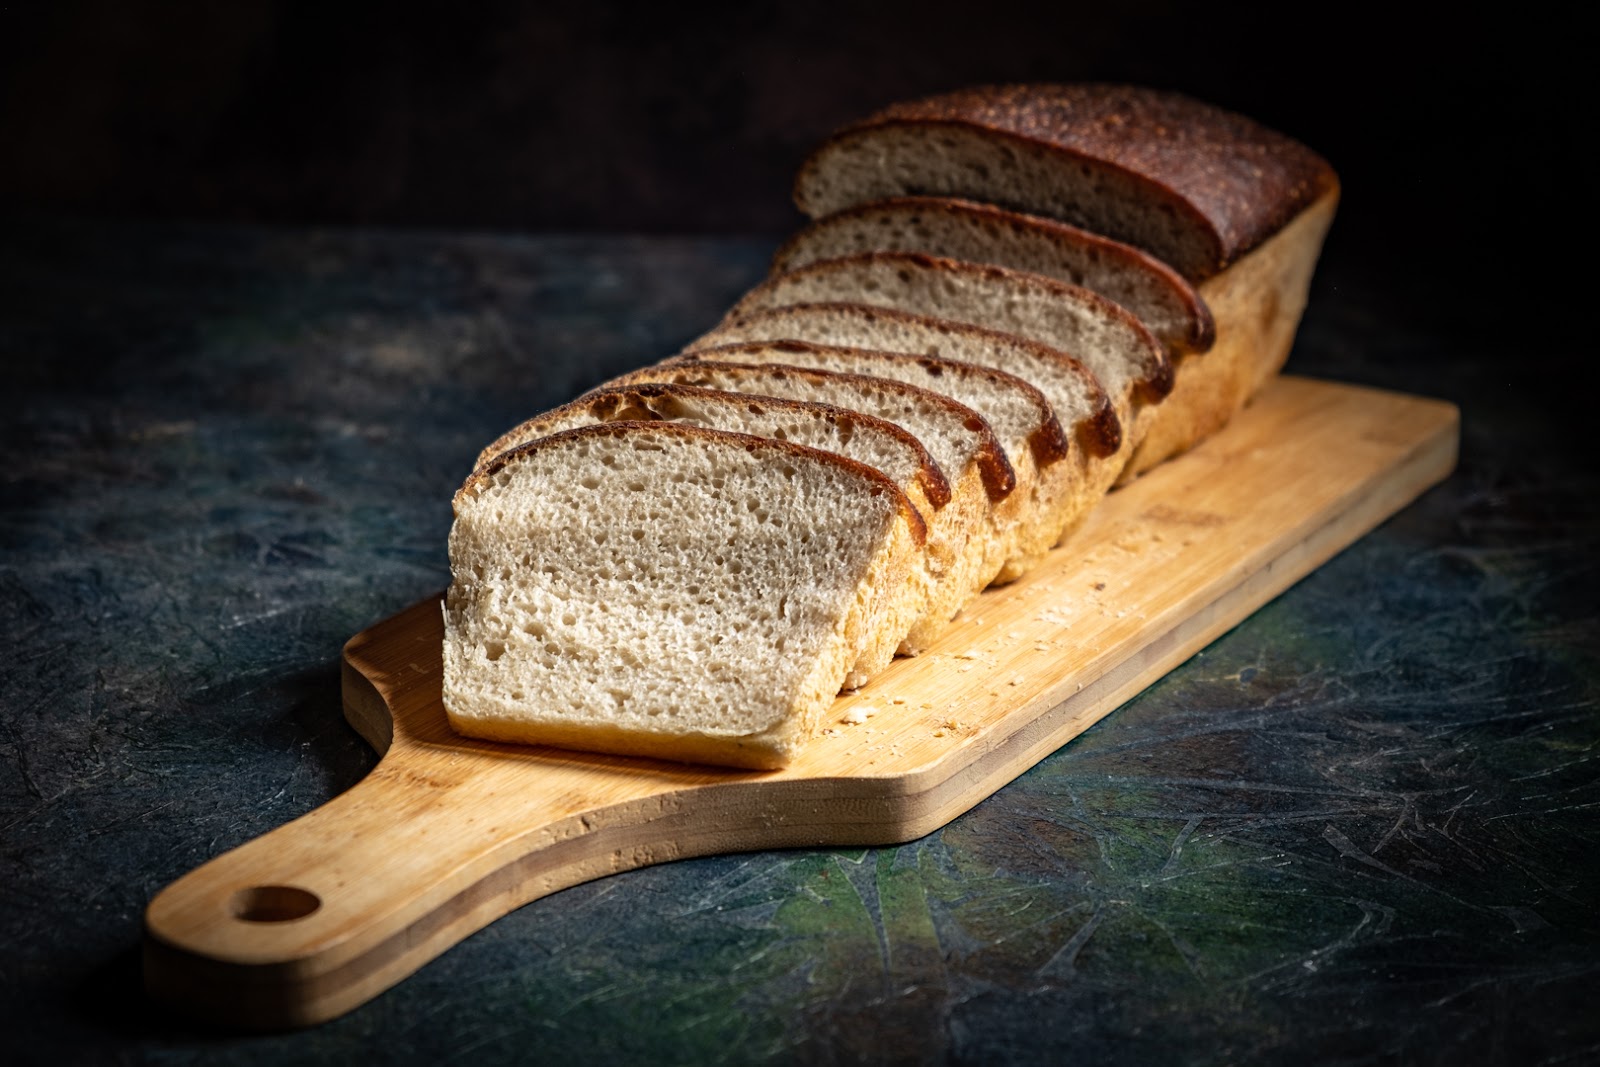
40% Kamut Sourdough Bread


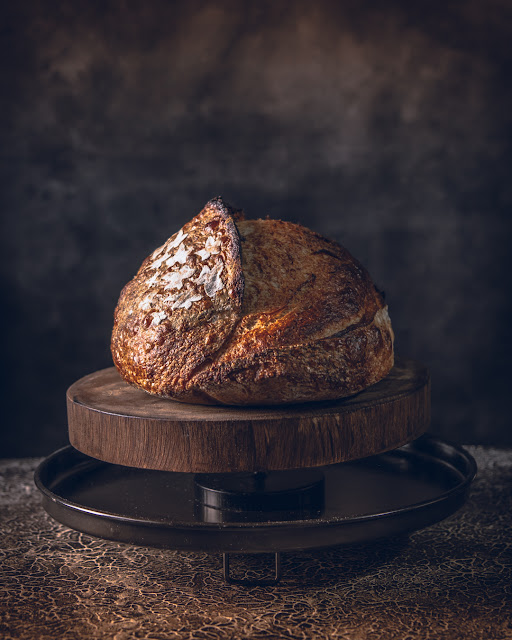
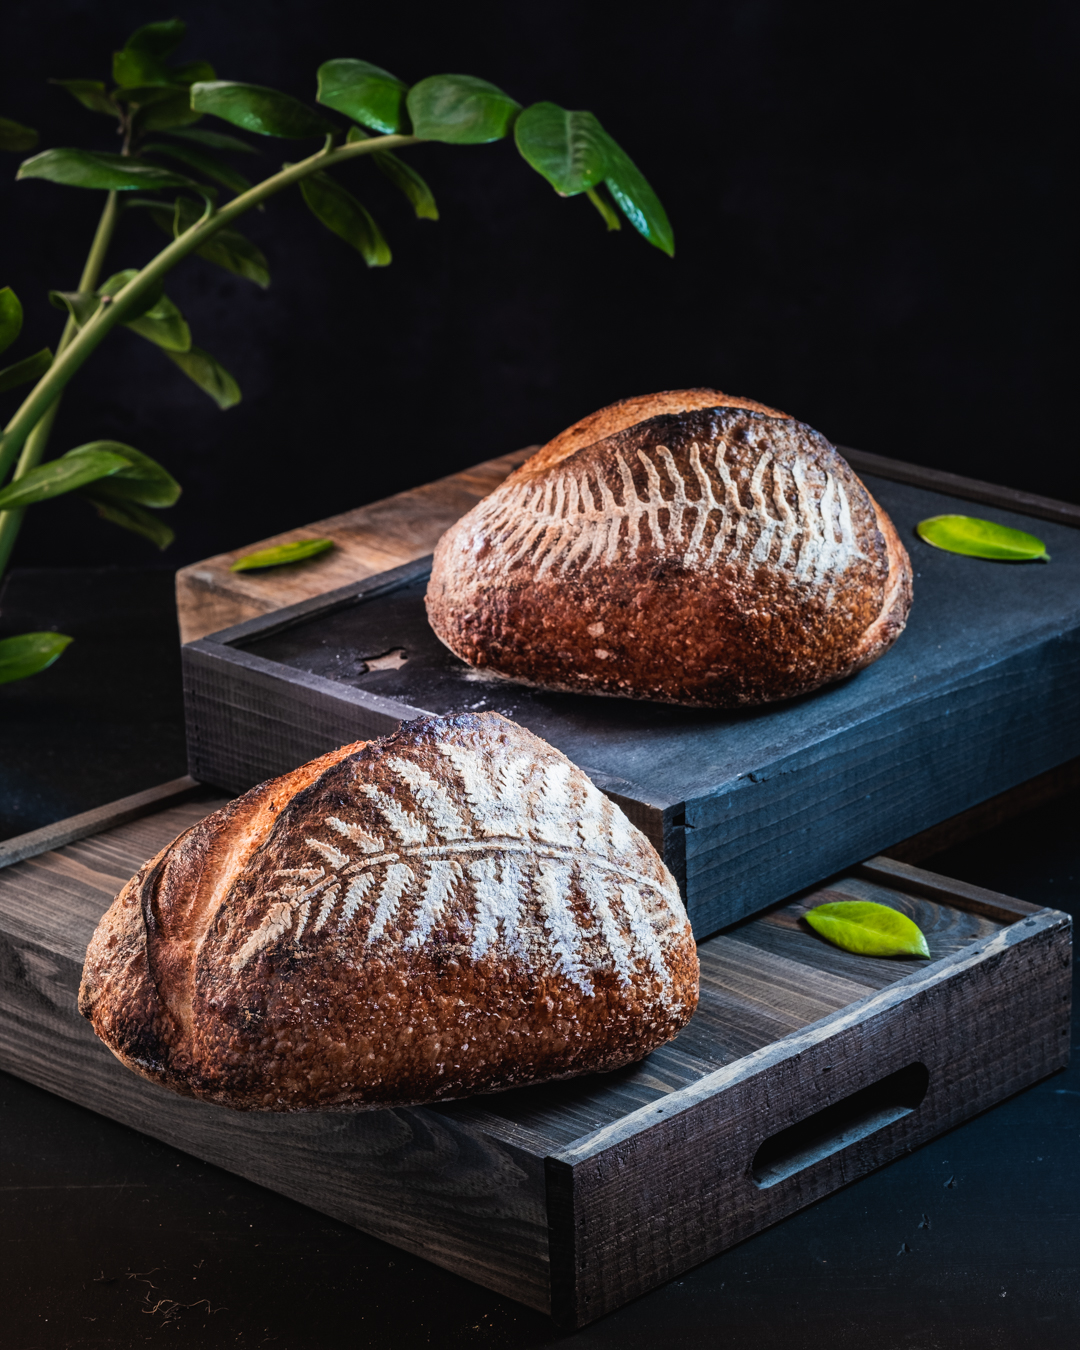
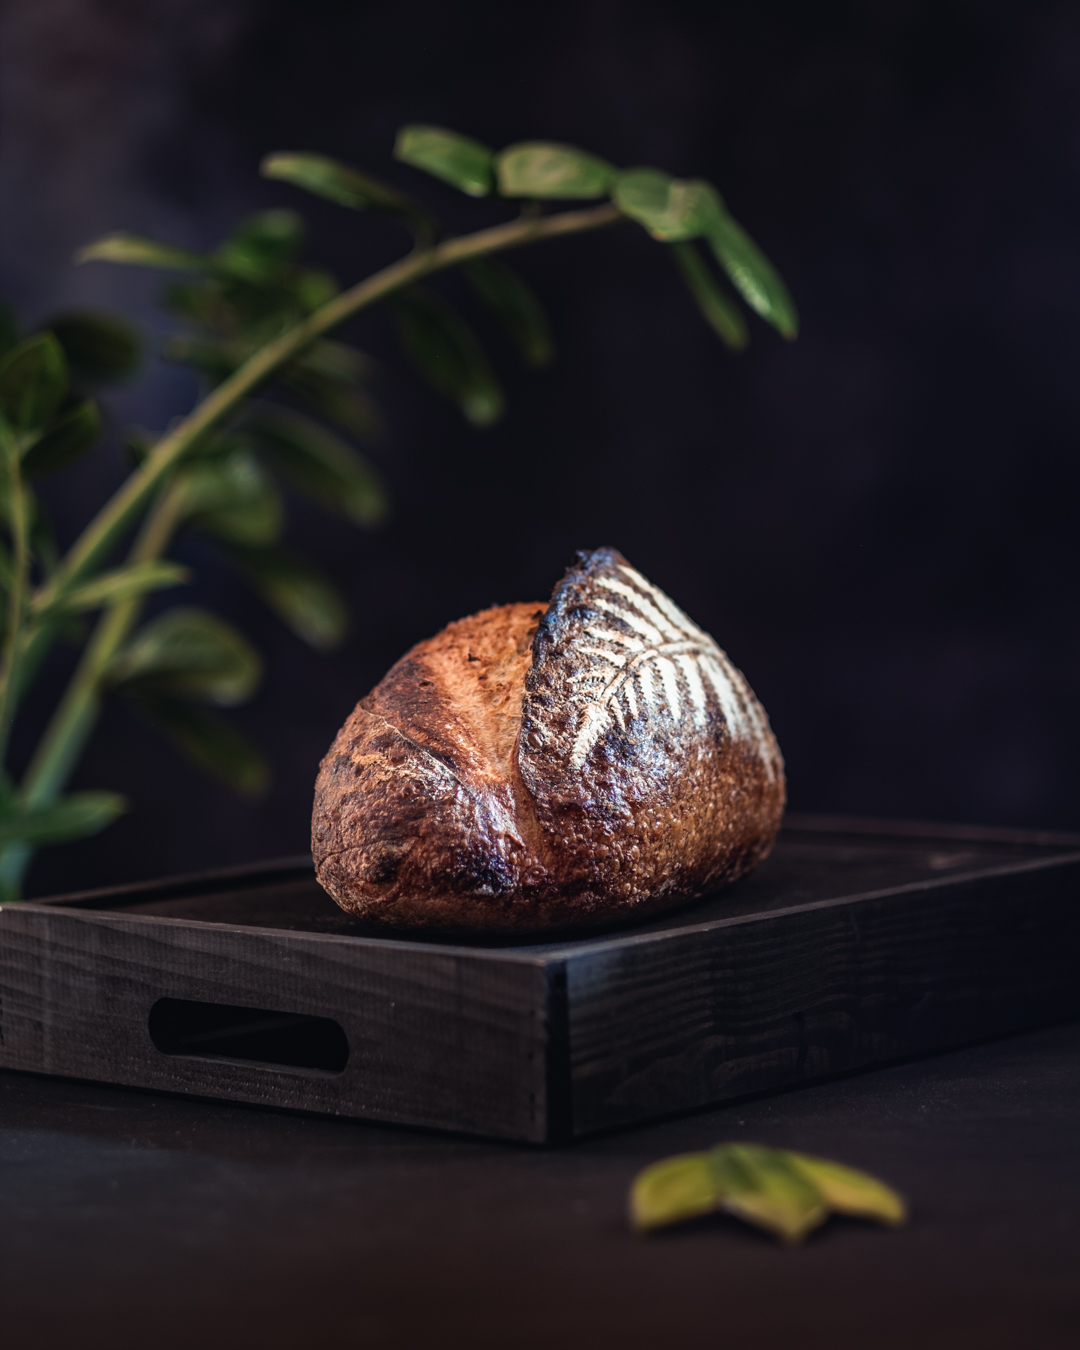
Today, I made a 40% kamut sourdough bread.

But what is kamut?

Kamut is an ancient grain thought to be a cousin of durum, with a grain that is at least twice the size of modern wheat. This grain comes with nice stories behind it and has many given names. In 1949, a US airman purchased 36 kernels from a vendor in Cairo who claimed to have taken them from a tomb of an ancient Egyptian king. He brought this grain to his father who had a farm and planted them. They called it King's Tut wheat but they had only small local success with it. It was just later in the 1990 that kamut became a commercial success after being trademarked to protect and guarantee that it would be grown organically and unmodified. Demand started to grow when people found kamut to be more easily digested and more flavoured compared to modern wheat varieties.

Although the last part of the story is certain, the origin of this grain is debatable as it is highly unlikely that wheat grains could sprout after 2000 years as the seeds' ability to germinate is almost lost during this time.


Another legend says that Noah brought this khorasan wheat with him on the ark, from where, another name for kamut is the “Prophet’s Wheat".

Also, the farmers in Turkey call the grain “Camel’s Tooth” because of its specific shape.

Kamut is a good source of protein, containing up to 40% more protein compared to modern wheat and it is lower in gluten. Kamut is also higher in minerals, such as Selenium and zinc. 

Kamut flour has a yellowish colour and tends to have higher water absorption. A dough made with it, forms good elasticity but is less well performing in extensibility, resulting in dough with less volume and denser texture.

Bread with kamut flour is slightly sweeter and has a rich, buttery and nutty flavour. It is firm and holds easily anything you want to spread on it. It is easy to digest due to its low gluten content while having high proteins, fibres, vitamins and minerals. Therefore, it might be a good alternative for those with gluten sensitivities.


Now, let's see the recipe:

Sunflower Seeds Sourdough Bread


I baked on purpose the same dough with different seed additions. This is the 3rd one of the series. The speciality of this bread is the sunflower seeds. Compared to the previous ones (chia and poppy seeds), the sunflower seeds are bigger in size. Its tip is very stiff and acts like a needle when touches a bubble. 

I did not hydrate the seeds before because I still wanted them on the crunchy side. Therefore, no wonder that from all, this was the less bumpy loaf.

In terms of taste and flavour, the poppy seeds version had the most pronounced nutty version. Which one do I prefer the most....hmmm difficult to choose from these fantastic loaves. Each is different and each is gorgeous. Maybe I should continue the experiment with other types of seeds. But until then, here is the recipe...

Poppy Seeds Sourdough Bread

Should I call this Poppy Seeds Sourdough Bread or Poppy Seeds with Sourdough Bread?

When baking for yourself you can be generous with the fancy ingredients you add. Bakeries would first calculate the costs and then add them to the dough. To be honest with you I did not measure the quantity of poppy seeds I added at the lamination phase. I added a lot (maybe a bit too much) but I do not regret it at all because the specific poppy seed flavour was predominant in this bread.

Unlike the previous bake, the seeds were not soaked in water. I just sprinkled them over the dough straight from the container. 

Let's see the recipe...

Chia Seeds Sourdough Bread


When I put myself on autopilot because I just need bread for our family I go for a recipe that I know it works. This doesn't mean that it has to be boring. Adding seeds at the lamination step may change the game. Depending on the type of seeds you add, the flavour is enriched with a nutty-specific taste from the seeds.

My next 3 posts will be about the same recipe but each time I change the seeds. This first one is with chia seeds. Chia seeds are super thirsty, you do not want to add them as such in your bread. You'll need then to keep them in water to become moist. Do this the evening before or at least when your mixer combines the flour with water, in the morning.

Adding seeds to bread not only enriches the taste but also adds nutritional value to the loaves. As you might already know, chia seeds are a very healthy ingredient, so I can only see advantages in adding them to the dough.

What do you think? Does it worth a try?


Low Effort Sourdough Bread

Making artisan sourdough bread is not simple and I recognise it. It took me years to experiment, learn,  note, understand and progress. The pandemic time made sourdough a star... it became so popular that everybody wanted to do it. Many made their own starter, others borrowed starter. Many launched themself into baking, some got the sourdough "virus" and continued to bake, and others slowly slowly dropped making it due to less time or they were not very satisfied with the results and finally, their starter died somewhere in the fridge.

But there is a huge mass of people hearing about sourdough who never tried or, tried once, failed and easily gave up. Do you recognise yourself in one of the categories above?

I find myself in the category of people starting to bake bread with sourdough years before the pandemic, intensifying and learning much more during those 2 years and continuing to experiment nowadays. Learning about sourdough is a subject that I'll probably do my whole life as you never feel you know enough.

But for those newbies and for those busy persons who never have time to make 15 steps to put a loaf on the table I made a recipe that simplifies the entire process:

Simplifying is a complex process in itself when you talk about sourdough. You can take out a step if you know what is the impact. Would you be able to still get an acceptable result? I've run maybe a dozen of bakes for this recipe to get it right. But I've learned even more about the importance of each step.

This recipe is for busy people and for newbies. But even for an experienced baker, there are times in our lives when other priorities take over our time and we still want to put sourdough bread on the table. It happened to me too. Did I miss my fancy chewy crumb? I definitely did but I used my time for more urgent or important things and still enjoyed sourdough.
In the video, I compare bread made in a simple way with one made in a complex way. When time and experience are not at stake, I know the winner recipe. But if you do not have time, to buy bread with 22 ingredients inside that were industrially risen in an hour, compared to putting 15-20 minutes of effort to make this bread, I would personally advise trying the second option. It is much healthy and at least you know what you are eating.
Needless to say that this is not my favourite bread recipe but becomes my favourite one when I am absorbed by other activities.

What about you? What do you think? Would you like to try it?

Whole Spelt Sourdough


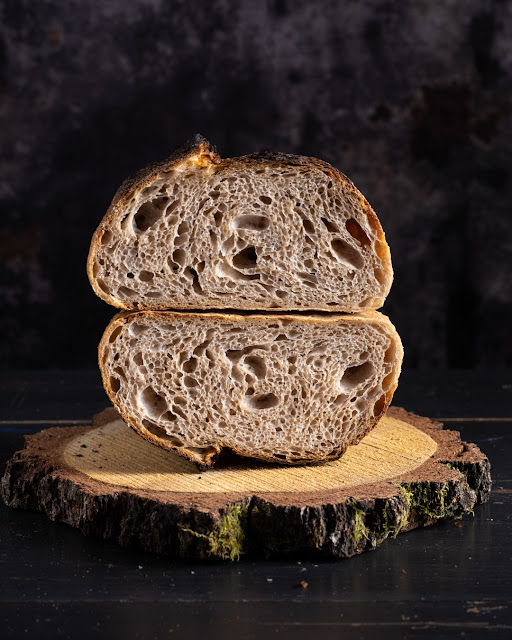
I need to confess that I have a love-and-hate relationship with open-crumb sourdough bread. While I am super excited when I cut it and see these lovely big alveoli and feel proud that I managed to catch the fermentation just at the right moment, my excitement goes lower when I agree with my daughter saying "mommy, there are too many big holes in this slice for the butter to stay!" To this practicality issue, no argument that "it is the best fermented bread" and that "I mastered the process" does not stay up.
Bread is not only about the size of the holes inside. There are many aspects to consider like health, taste flavours or the purpose for which it was made.
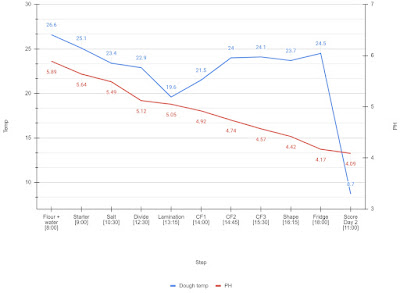
To be honest, I did not plan for an open crumb. What I was up to was to track the ph and make the correlation with the degree of fermentation. I used to believe that the best time to shape the loaves was between 4.2 to 4, with higher chances for open crumb on the lower side. The type of flour is a variable that intervenes in the process too and I was fully aware of that.

I made 3 changes in my classic process for this bake and now I do not know which one had the major impact. Therefore, with my next bakes, I will need to isolate the changes, one by one, to identify the major one.
First, I proofed the dough at a higher temperature. Or at least this is what I thought when I set my bread proofer at 32ºC. This was tricky because my kitchen was cool (~17ºC) and every step influenced the temperature of the dough which fluctuated between 19-27ºC.
Second, I changed the starter. I have a second starter derived from my classic wheat starter but fed with rye. I usually keep this one in the fridge and take it out once or every 2 months to feed it. I recently read a book where the baker was saying that in his bakery he uses only rye starter regardless of what bread he was targeting. I was intrigued and wanted to give it a try.
The third was the ph value at shaping. While I was waiting for the dough to pass the 4.2 ph mark before shaping, I had the feeling I needed to shape it earlier as my eye on the dough was rushing me for the shaping step. Without a ph meter I think I would have shaped the dough somewhere between the coil

fold set 2 and 3. But I resisted, thinking... scientific measurement might be more precise than my eye. Even more, after shaping I kept the loaves in bannetons until reached the 4.2 level and just after, I put them in the fridge. 
The next day, before the bake, I measured again the ph and I had a significant drop to 4.09. Interesting that too, because most of my loaves were going into the oven between 3.9-3.8.

What an adventure! And I am so keen to test more on this recipe. There are very few adjustments I would make to it. For example, I would put it in the fridge just a bit earlier hoping to get taller bread and maybe a more uniform distribution of the alveoli. And maybe keep it more in the fridge?
I feel that the rye starter gave tremendous power to the yeasts and bacteria and they produced an impressive amount of CO2 to pump up the bubbles early. I will use again this starter, I have a good feeling about it now.
As for the temperature, I'll test keeping it high to see the influence on behaviour and taste. Now, during the cooler time of the year is also justified to keep those microorganisms happy.

100% Semolina Sourdough Bread

I've played so much lately with semolina flour for making bread because I like its taste and because I find it such a fantastic type o flour. 
Semolina flour though does not behaves the same as wheat flour. It has its advantages and disadvantages and, I always underline, you do not know well a flour until you bake bread made 100% from that specific flour.
It is yellow in colour, and it has more gluten but with a lower quality and this means that you need to treat it with care when preparing the dough. I would suggest lower hydration than normally used for strong bread flour. I went for 70% hydration for this recipe and found it the perfect match for my flour.

Because I like personally lean more from a video than from a photo with text, I present you this recipe in a structured video.

I suggest you also watch the previous video from the recipe 50% Semolina Sourdough Bread as there I go into even more details about the semolina flour.


50% Semolina Sourdough Bread


Semolina is my new obsession. I knew about semolina since I was a child and my mother was making milk porridge with it. It was one of my preferred breakfasts. Little did I know that it will later become one of my favourite ingredients for bread.


To make fantastic sourdough bread with any kind of flour you need to understand its characteristics.

Semolina (or semola rimacinata di grano duro) is made from hard wheat not from the common wheat usually used for bread flour. Semolina is very popular for making pasta, couscous, and porridge but it can be successfully used in bread as well.

Semolina has a coarser texture than classical flour but should not be confused with rice or corn semolina. Semolina comes from durum triticum wheat and when ground in a coarser texture is called semola rimacinata. If it is further ground to a very fine texture, it is called durum flour.

Besides its texture, semolina has a pale yellow colour, has a more earthy aroma and it is rich in proteins but forms a low-quality gluten. This makes the dough less extensible and affects its structure.

However, there are some tricks that you can apply to overcome this issue.

  • First, you can improve the structure by adding strong bread flour into its composition and this is exactly what we'll do today.
  • Then, you can make a longer autolyse of 2-3 hours to develop the gluten to its maximum potential.
  • or you can increase the mixing time too for the same goal.

I invite you to watch the video of this bread to learn more tricks about it.


Rye - Whole Wheat Sourdough Bread


Take a bread recipe, make it until you are satisfied with the result and then you can play changing the flour. This is what I am doing with this recipe: I changed the spelt flour with rye flour in my previous recipe. The result may have the same look but there are big changes to the dough and I'll explain why. 
The spelt flour makes the dough very elastic while rye is fermenting faster. Rye flour is also more absorbent (at least mine because it is partially whole rye).
So, the spelt version needed more coil folds to build the structure while rye has already a good structure feeling stiffer. Fermentation time was reduced also.

If the aspect is similar, the taste is slightly changed. Rye flour comes with a more rustic taste while spelt has sweeter influences. Do I like one more than the other... hmmm... difficult to say. They are both sourdough bread and the taste is amazing in both cases. The differences are just a matter of nuances.


Here you can find the recipe:

Spelt - Whole Wheat Sourdough Bread

 When you make a dough combining multiple types of flours you should be very careful about the effect each dough has. Usually, if you put a type of flour in a percentage lower than 10%, the influence is minimal in the dough consistency and mild in the taste. When you increase this percentage, the characteristics of this specific flour start to be noticed. 

I made this bread with 3 types of flour: whole wheat, spelt and bread flour. Whole wheat is more absorbent and impedes the gluten network to develop easily. That's why a trick is to hydrate the whole wheat flour the day before so that the bran is softened through better hydration. The spelt flour adds elasticity to the dough. This means that you can stretch it more. The extensibility of the dough then has to be created by adding an extra coil fold. (the 4th one). The bread flour I used, although with 13% protein content was also very extensible and less absorbent than others I normally use. With these characteristics, making this bread is tricky.

First time I tried it I was not very happy with its dough structure and I over fermented it. The bread was perfectly eatable but for sure, was not what I expected it to be.

With the lessons learned from this first failed attempt, I focused on improving 2 things: dough handling and reduced fermentation time while keeping the list and quantity of ingredients exactly the same. To build a better structure, I added a 4th coil fold. For the fermentation, I definitely understood that this combination of flours, had to have a higher ph than 4.15 (as my previous test was). I shaped it then at ph 4.33 and put it in the fridge at 4.25. Only these 2 changes transformed a recipe from zero to hero.

This is a perfect example of improving the method and not changing the ingredients or their quantity. The method matters! There are many methods out there that make fantastic loaves of bread but you need to master yours and know the implications of changing it.

What is the deal with Open Crumb Sourdough Bread?


Open crumb is a dream for any baker for its imposing outside and inside look. 

It is a wish for a professional baker, as bigger loaves are quickly sold. 
Open crumb is a pride for a home baker, prooving high baking skills and mastering the fermentation process.

But open crumb is not just about the look. 
Pushing fermentation to the maximum means that the sugars in the dough are more consumed turning the bread less caloric. This means healthier bread.
When I started making sourdough bread I wished I had all the details to understand how it works. It took me many years to practice and observe the dough. It took me many books to read, articles or posts to digest or videos to watch. The trick in all this way was to pay attention and learn from my own experience.
I have never followed a baking school, everything I know is self-learning. There are many materials out there to learn from, free or paid, covering from the basic to the most scientific explanations. But the most important is to practice what others say and develop your own baking skills.

What I love the most about sourdough baking is that you never feel you master it completely and there is always something new to learn from every bake. Unfortunately, is not that simple to follow exactly a recipe, you need to learn to read plenty of signs that recipes do not mention. You need to develop a feeling for the dough. This happens with your eyes and with your hands.
On the way, you need to understand WHY every step is done and what it brings. Otherwise, why do it?

Open crumb was and still is for me a challenge. The truth is that I do not chase it every time. There are other types of bread catching my attention too from different perspectives. But open crumb is about perfecting the fermentation which is the most important in the sourdough baking process.
It is the jewel of a baker although I know many who will not make or buy an open crumb but a more dense one.

I tried to gather in this video all my lessons learned and share them with you. I hope that you take a shorter way to perfect open crumb than I took, and I offer you what I wish I had known 8 years ago when I started baking sourdough bread for me and my family.

However, this is not the bread to spread butter on.  Pick rather a sandwich loaf.

It is instead the perfect bread to accompany a soup or another dish.


Here is my conclusion gathered in a list of SECRETS for achieving open crumb:
     1. Use stronger bread flour
     2. Use a healthy sourdough starter
     3. Use higher dough hydration (>70%)
     4. Develop a strong gluten network
     5. Extend the fermentation to the maximum without over fermenting
     6. Learn how to read the dough
     7. Improve your dough handling skills
     8. Use steam for baking

Open Crumb Sourdough Bread

Do you believe in baking moods? Do you believe that your mood will influence your baked food? I don't. However, there are many times when I am not too much in a baking mood but I have to bake bread to feed my family. The results are most of the time in line with my mood. Other times, when my baking motivation is high, the results are diverse: worse, medium or over expectations.

Lately, I haven't been very inspired to bake bread but I did it anyway because we needed it. But baking for me is a passion and when I feel tired or uninspired I just need a break to recharge. 

This is exactly what I did. Last week, I took a little break from everything, from job, from baking, from other passions and generally from the daily routine. Instead, I visited a dear friend, brought the kids to a zoo and to an animal wild park. These few days made miracles, and everybody from the family enjoyed it. In the last day, I felt I missed my kitchen and trying new baked things. Yes, that was exactly what I was looking for and this little break put me back on track as I came home full of energy and with plenty of new ideas.

I switched to a new recipe that I believed it would fit to my open crumb purpose. I went for a 20% whole wheat, a high hydration bread closed to 80% and planned to change some variables to see how the results would influence my loaves.

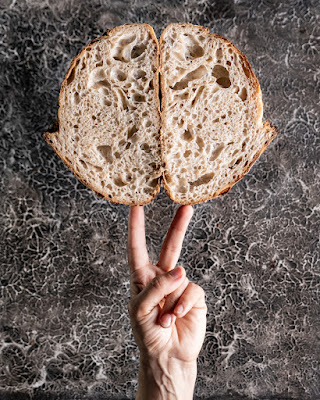
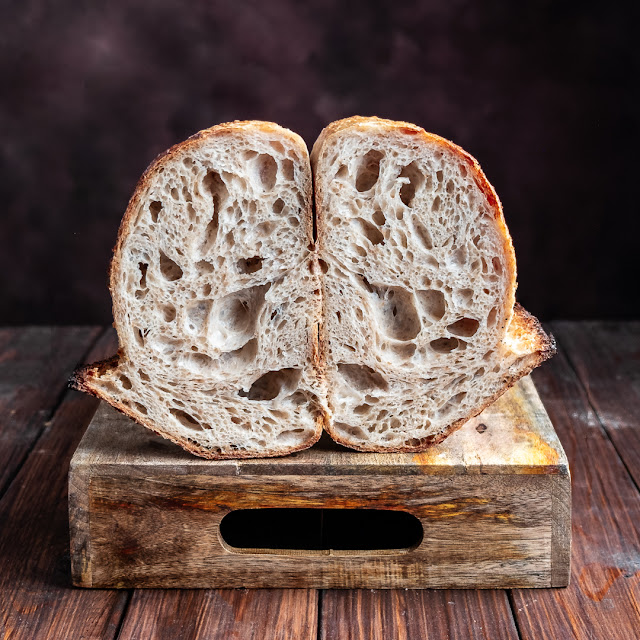
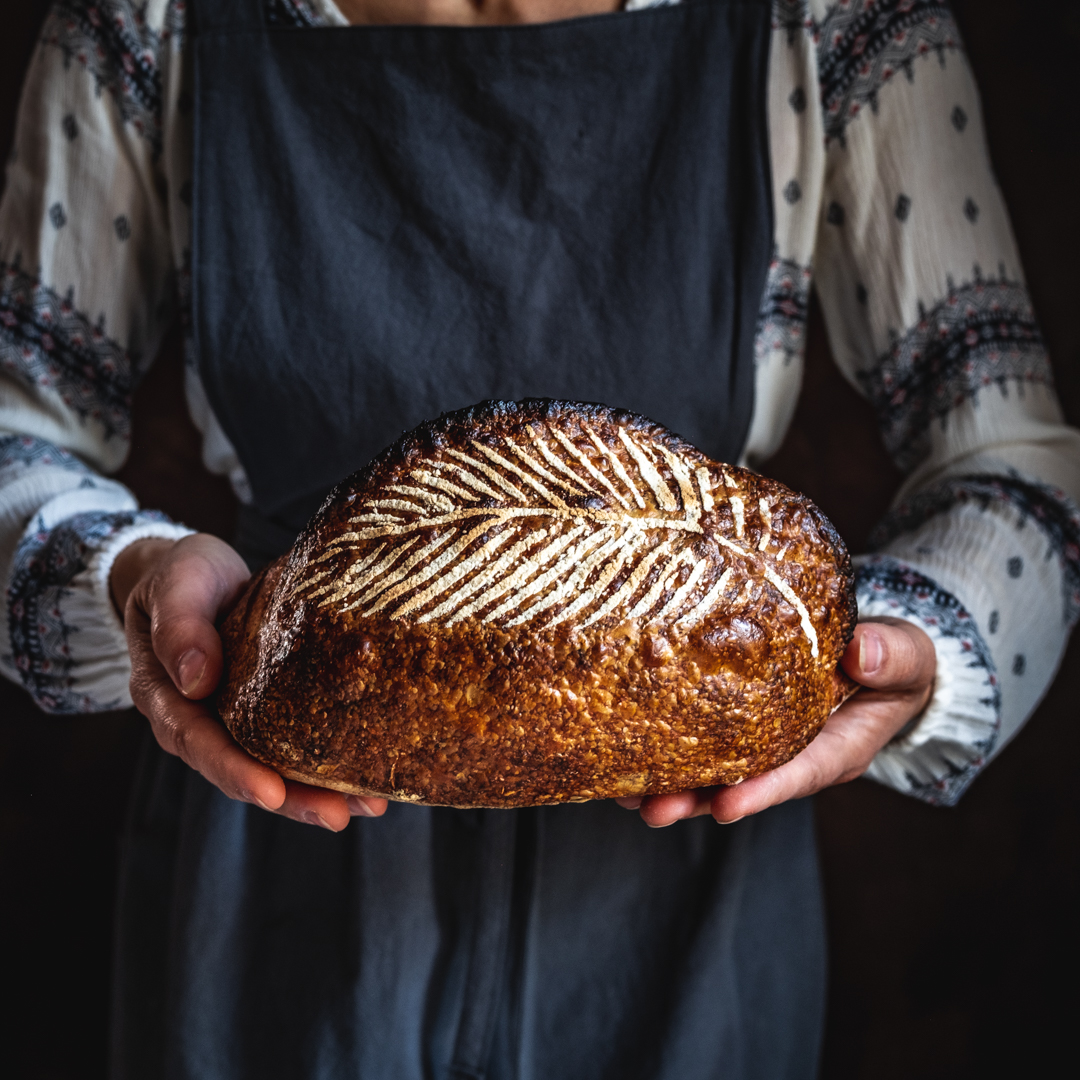
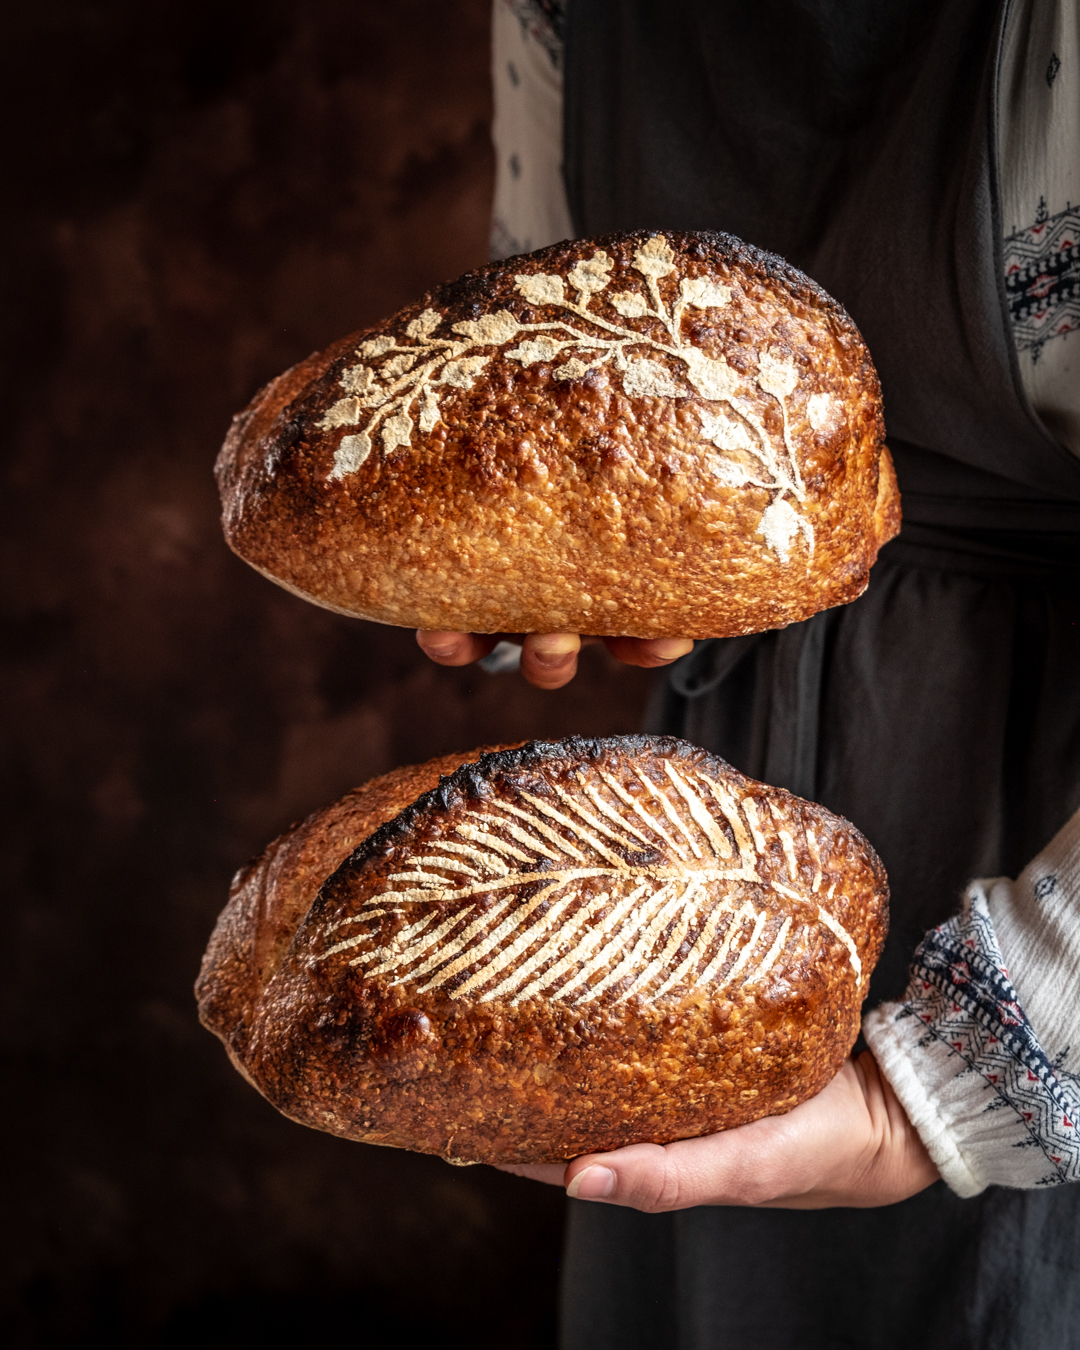
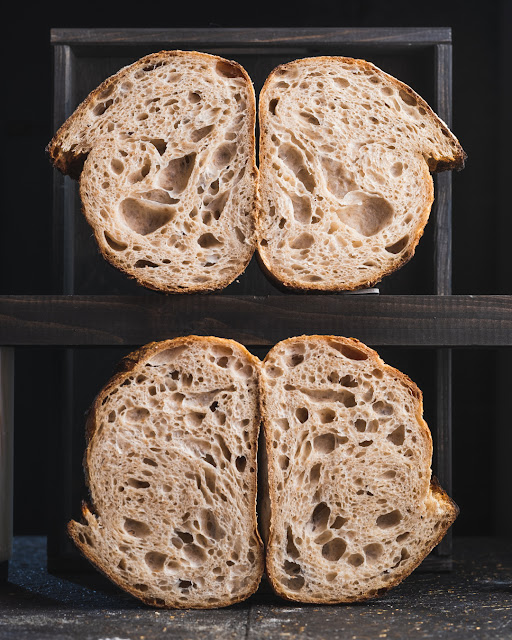
These photos are probably speaking by themselves. Leaving the modesty behind, I call this one of the best open crumb I've ever made. Open crumb for me was never the perfect bread I can produce. Open crumb is about mastering the process in order to control the results. But perfection comes with the process, not with the end result. There is no such thing as one perfect bread, there are many perfect loaves but depends on the occasion and what you are trying to achieve. There can be perfect sandwich bread, perfect rye bread, perfect whole wheat bread and so on,  and yes, there can be the perfect open crumb bread. This is what I was targeting, this is what I've got. Was this related to my high baking mood? It is an interesting link but I believe in science and practice more than in the alignment of the stars in my horoscope. 

Do I master the process then? Well, this comes with consistency in baking and most probably I have stepped with the right foot ahead. However, the journey is much more enjoyable than the result itself, right?

To my classical process, I made little changes and I will take them one by one to speak about these changes. In my next bake, I will try to isolate the variables to see the direct impact on the final product but for this bake, they worked very well together.


1. Hydration of the whole wheat in advance.

Hydrating the whole wheat flour in advance is not new to me. I've done it before and the results were noticeable. There is a simple logic behind it: whole wheat contains the bran of the wheat grain and it is taking much longer for the bran to hydrate than it takes for the flour. This recipe contains 20% whole wheat flour. So, the day before making the bread I hydrated the whole wheat with almost the same amount of water (reaching 100% hydration for this mini dough)and left it on the counter in the kitchen overnight. My kitchen is cold these days during the night, it barely gets 15ºC so no worries about extra enzymatic activity in the flour through my 8 hours time sleep. During the summer, I would put it in the fridge to stay safe.

2. More frequent coil folds

The bran from the whole wheat acts as a barrier in the gluten formation. Reorganising the dough more often helps with the structure and makes that only the strong bonds are kept and the weak ones are rebuilt into new stronger ones. I had started with the idea of making one coil fold every 30 minutes. This resulted in 8 coil folds. I have never done so many for a dough. As a practice, it was a little disturbing to babysit the dough every 30 minutes with a coil fold but well... when you are motivated you are not too much bothered.

3. Increased fermentation.

Pushing the fermentation to a higher extent is one of the key elements in achieving an open crumb bread. I knew that and the most tricky question is how much? What was the sweet spot? I usually put my loaves in the fridge for the retard when the ph is around 4.2. But what if I would stretch it up until 4.1? Would this be too much? Could I push it lower than 4.1?

4. Optimise the time between scoring and baking.

One of the things I've noticed is that my 2 loaves that I bake together look different. They come from the same dough so fermentation is not a high factor. But my usual process is to decorate and score the first loaf and then pass to the second and put them both together in the oven. I also tried to put already the first one in the oven after the scoring and decoration were over but it was not the best process as this first loaf would bake alone without steam until the second one was ready to go in the oven. So what I have tried was to decorate both the loaves, pass to scoring both and then put them in the oven. In this way there was no bread waiting for the other after scoring.


All these changes had for sure an important role to play in the process but some probably influenced more than the others.

Let's analyse a bit each of these changes.

The hydration of the whole wheat flour in advance was for sure a good idea. I felt in my hands a dough that was not breaking easily. This is for sure a keeper for my next attempt.

The frequent coil folds had a good impact in organising the dough and it made a fantastic net in the crumb. But, man... 8 coil folds... is a bit overkill. More coil folds is a good idea but distanced at 45 minutes maybe it would be easier (hoping that it won't destroy the beautiful crumb) next time.

Fermentation was an absolute key here. With a perfect gluten development, the fermentation at 4.14ph when shaping and 4.11ph when putting it in the fridge was matching perfectly. I am sure it would accept  even a bit lower ph but not without an impact:

  • bigger holes. I actually do not want them bigger, I want a slice still to remain tangible without seeing everything through it. Like this, it is perfect to accompany any dish and even to spread butter on it. Larger holes would make the loaf only suitable for soups and won't be able to hold anything soft on it. 
  • losing the ear. It is very probable that with a higher fermentation when exposed to heat, the bacteria won't have enough power to open an ear. Even if this is just a visual aspect and I know people who would avoid bread with ear when choosing from a shelf, it is for me proof of catching the sweet spot of fermentation.
With my next attempt, I would not change the fermentation, I would stick to those ph numbers to guide when to shape and when to put the dough in the fridge.
The last is about making the steps of decorating and scoring for both the loaves. It was a clear indication that my loaves looked different because of the waiting time. Now that I know, I will keep this lesson learned.

These were my conclusions, and now I am ready for the next bake. So curious if I can get consistent results!

La Couronne Lyonnaise / The Lyon Crown Sourdough Bread

I continue the adventure with traditional French loaves and I travel from Bordeaux (in one of my previous posts) to Lyon. Similar flower look but with a different way of shaping it. Wich one do you like better? I think each one has its own charm, so for me is difficult to choose.

Like the previous one, the dough is made by a number of dough balls arranged in a circle in the basket. Both Bordeaux and Lyon versions have a flap. For the Bordeaux version, one of the balls is flattened and the dough balls are put over. In the case of the Lyon version, a flap is created for each ball of dough. This version has a more petal look and the other one is more of a circle that is rising in the oven. Both of them are outstanding in terms of design and I can only thank the French to invent these amazing loaves.

Like the other crown bread, this one is traditionally based on sourdough and made from white flour combined with a bit of rye flour. The crust is crunchy, the crumb is dense but soft and this is the way is traditionally made. The dough needs to be stiff to keep the shapes of the balls. The bread is straight, meaning that there is no overnight retard, for the same shape reasons. 

I visited Lyon more than 20 years ago and unfortunately, I was not aware back then of this fantastic bread. If I have the chance to visit again this beautiful town, trying this local bread would be one of the first things to do.

Multigrain Sourdough Bread

I know that Christmas is gone already for 1 month but this bake was too interesting to wait for the next Christmas to post.

I bought this flour by mistake. I confused the classic bread flour package that I buy from the supermarket (that I use for cakes by the way, because its protein content is 10%) with this one. I have not noticed that the picture on the package showed some grains. Neither I read the title...
But well, I arrived home with 5kg of multigrain bread flour. When I try a new flour, I always test it first at 70% hydration: that is not too wet not too stiff, perfect hydration to compare. The protein of this flour was 13%, but not to be tricked... this was the protein content of flour + grains, so the flour should have had about 10-11%.

Would I buy this flour again intentionally? Probably not. I do not like the mix of seeds in the flour, I prefer to be able to select what seeds I put in my bread and in what quantity. More, I usually add the seeds in the lamination so this flour does not fit my process and starting to sift the seeds out of the flour does not seem efficient to me.

However, the dough behaved well, but with this new flour I wanted to take as much measurements with my new toy, the PH meter. Sometimes, I measure before the steps and after to understand the changes. You can find the numbers in the directions section for each step.

Conclusions of the measurements experience:
  1. the dough heats up slowly after the mix with a standing mixer
  2. every manipulation of the dough outside the bread proofer affects the dough temperature (like when put on the board, shaped etc)
  3. putting the bread into the fridge when the ph was 4.18 was a good decision
  4. my fridge had a higher temperature than the set (5ºC) as the dough before scoring got a temperature of 9ºC. This variance needs to be considered in order to avoid over proofing the dough in the fridge!
La Couronne Bordelaise / Bordeaux Crown Sourdough Bread


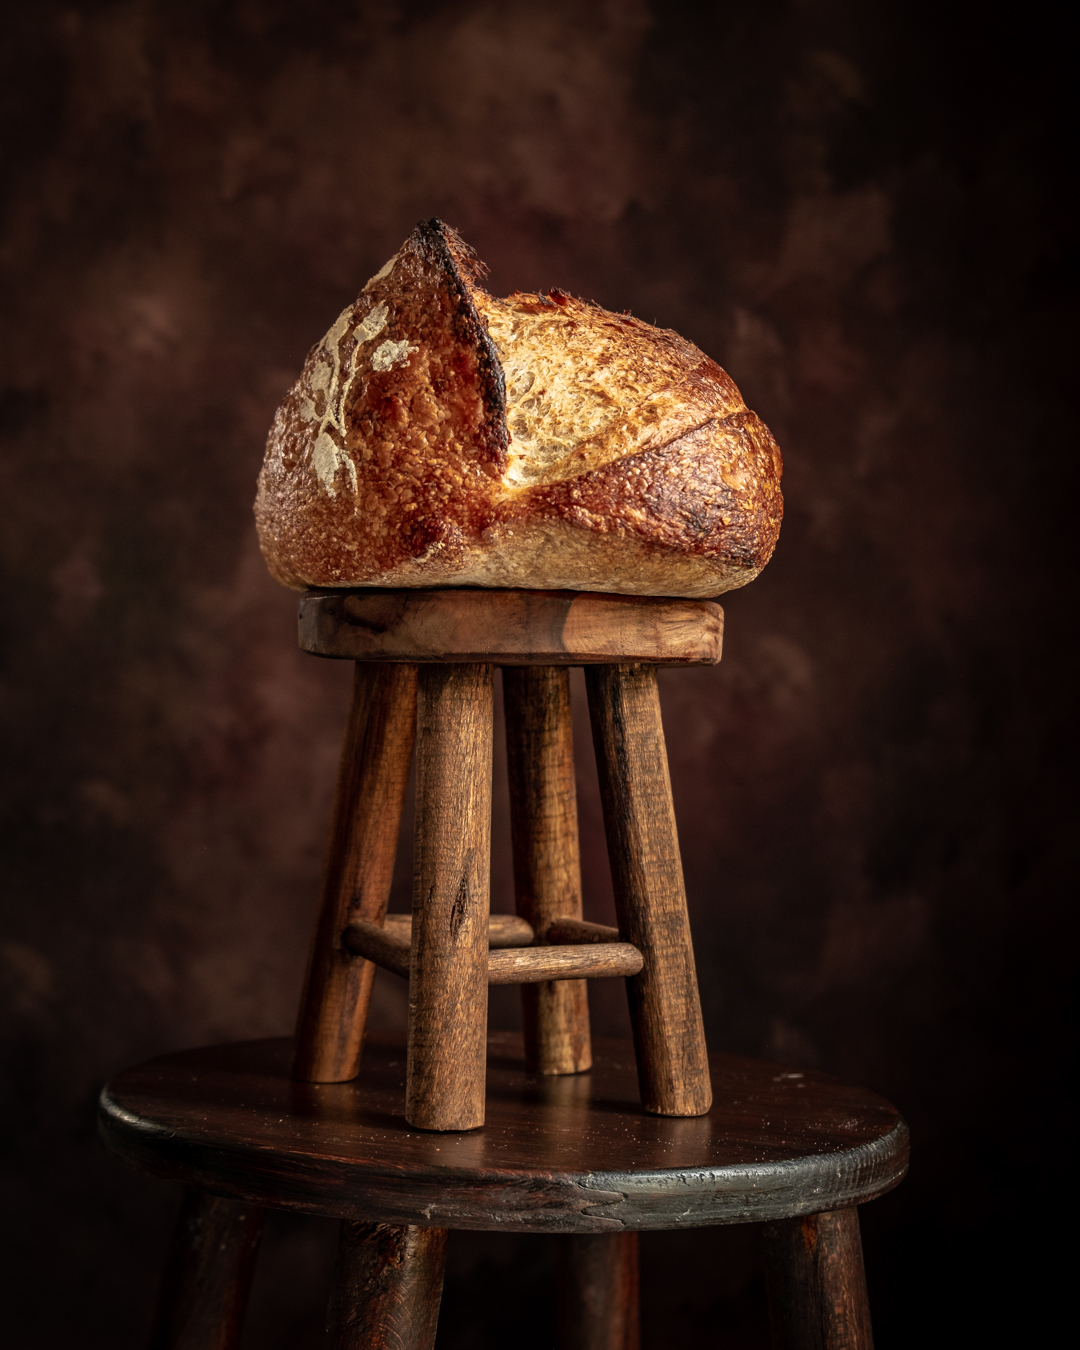
I wanted to try this loaf from the moment I first saw it. I though to be a complicated one but I manage to get it from the first attempt. The special thing about this bread is not the crumb, not the rise but the shape. It is about rising a thin piece of dough on top of the bread to achieve the look of a crown.
This bread is called La couronne bordelaise (translated as the Crown of Bordeaux) and of course, it is a French regional bread that you will for sure remember. 
The crumb is expected to be dense and soft with a crunchy crumb, especially the "crown" part. 
When raising in the oven, to me it looked like a blooming flower, such an impressive sequence to see in a speed up video.
The look of this bread is simply wow. It has a simple recipe, traditionally made with white flour and a small part of rye or whole wheat. It is also traditional that this bread is based on sourdough.
The stencil decoration of this bread is optional, but I think it gives a big effect to the final look of the loaf.

To see how I made it, the best is to watch the video. If a photo says a thousands words, a video says a million.

I introduce now a new thing in my baking because this Christmas, Santa came to me with a geeky tool, a PH meter. Since then, I started to test the dough at every step and note everything down. I've read a lot about baking based on the PH rather than the volume increase in an aliquot jar or by eye and currently, I am in the learning process with this new toy. As soon I will have some conclusions I'll happily share them with you. But so far, I experiment. That's why, I included in the recipes some notes, and here it is how they need to be read: PH - the PH of the dough measured before the step. DT: the dough temperature at the time of the measurement. (eg:[PH:4.54; DT:23.8ºC])

One first lesson I learned is that the temperature that I set for my bread proofer is usually higher than the dough temperature. It is not an unexpected discovery, I measured the dough temperature before and I knew that. But this time, I have measurements at each step. It is interesting to see how the temperature fluctuates through different steps because of the dough manipulation at room temperature (usually 20-21ºC during the cold seasons). 

This loaf I baked it when the PH was 4.2. Seeing the crumb, I feel it could have been proofed more. No, this bread is not underproved because the crumb should be on purpose closed and soft. Then, due to the particularities of this bread of rising the disk on top of the bread, staying close to the under proofing limit, I think it is a good idea. But I will test this assumption with my next loaf.

I still have much to learn about PH, and for the moment I just keep track of the measurements and make notes.


Turmeric Marbled Sourdough Bread

There was a type of bread that I wanted to bake and it was  time to try it. The marbled bread.
This bread has the particularity that the crumb has swirls of colours coming from combined dough with different colours. The recipe is a classic one, with a high hydration dough to get a more open crumb. It is just about colouring a part of the dough (preferably in a healthy way) and layering it over the rest of the dough in the lamination phase to obtain a distinct combination of colours. The swirls come from the manipulation of dough after the lamination, more exactly during the coil folds. There is a trick about them and I will explain.
For these loaves, I used turmeric as food colouring and this one has the tendency to tint the rest of the dough as well. To avoid this, it is better to keep the coloured dough in a smaller proportion than the white one, that will be about 25-35% from the total dough. Then, I performed 3 coil folds during the bulk fermentation, after I integrating the 2 coloured pieces of dough. More than 3 would make the crumb completely yellow. Two coil folds would be better in order to see the distinct swirls but you'll lose on the bread structure side as the hydration of this dough is high. So, 2-3 coil folds are the right number, but also be careful when you perform the coil folds themselves to avoid doing it multiple times. Keep the movements simple and do not overdo it.
All the rest of the steps are exactly the same as for a classic sourdough bread.


This bread is more about the visual aspect of the crumb rather than the taste or bread fermentation technicalities. I find that the turmeric addition did not changed the overall taste of the bread so this ingredient is kind of neutral for the taste. 
To get the open crumb, I recommend fermenting the dough up until the aliquot jar indicates 100% volume increase.
I invite you to watch the video above for all the detailed steps of this recipe and method of making bread.

Enjoy!