RSS

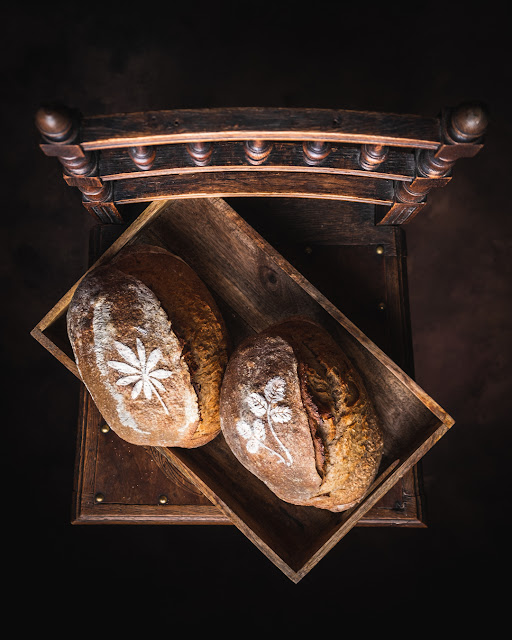
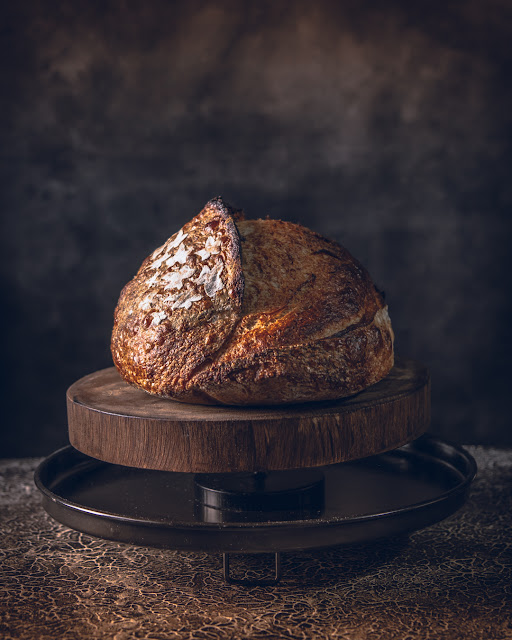
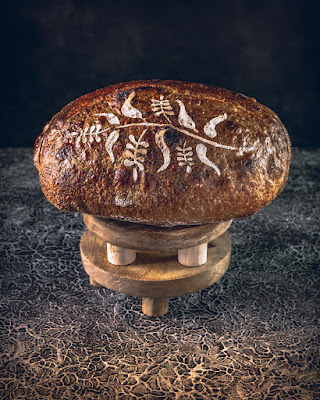
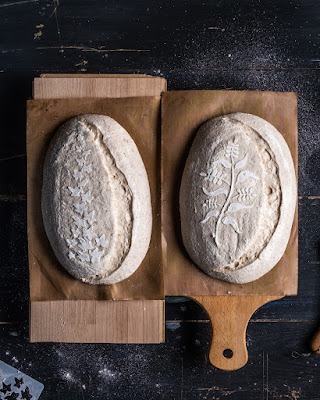
Rye - Whole Wheat Sourdough Bread


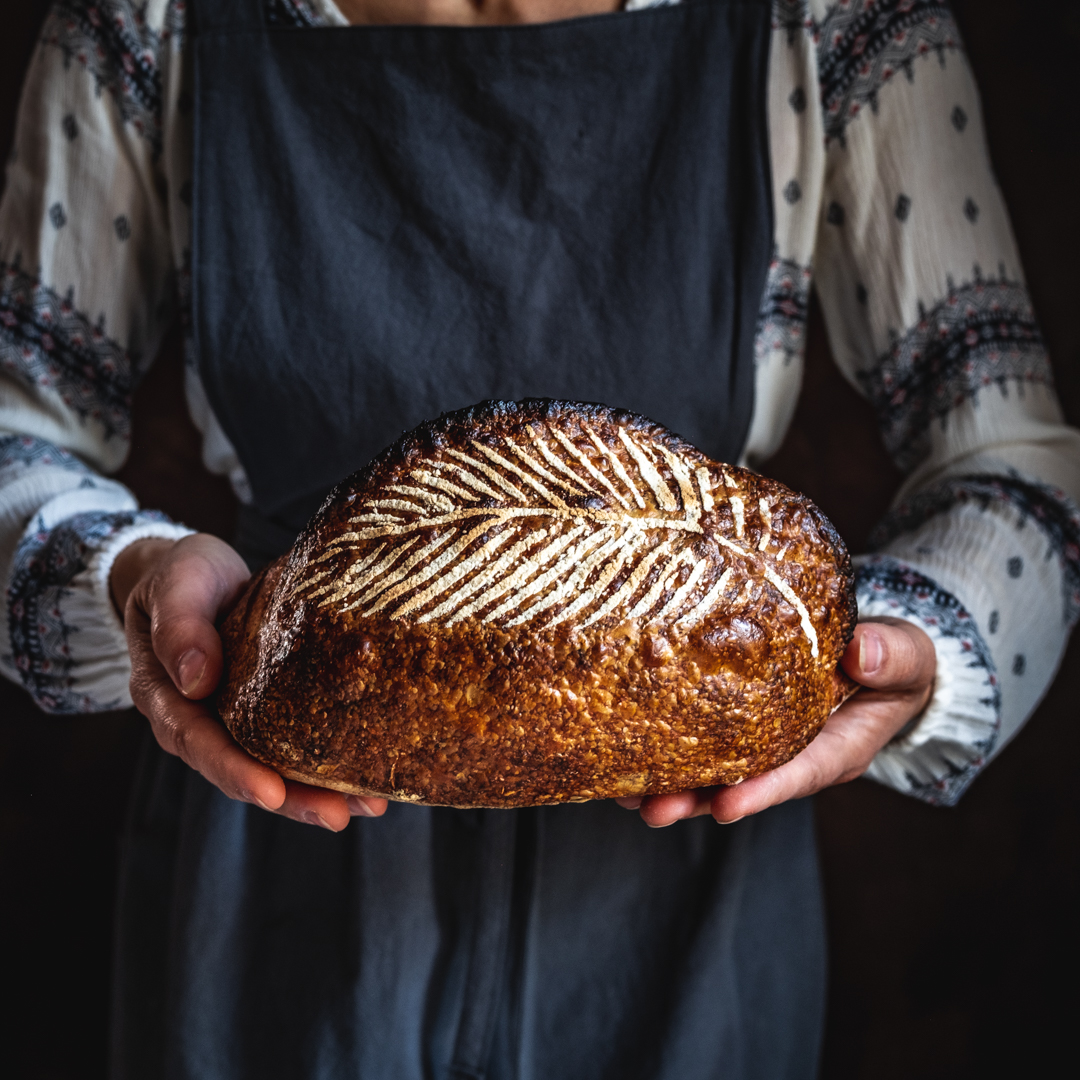
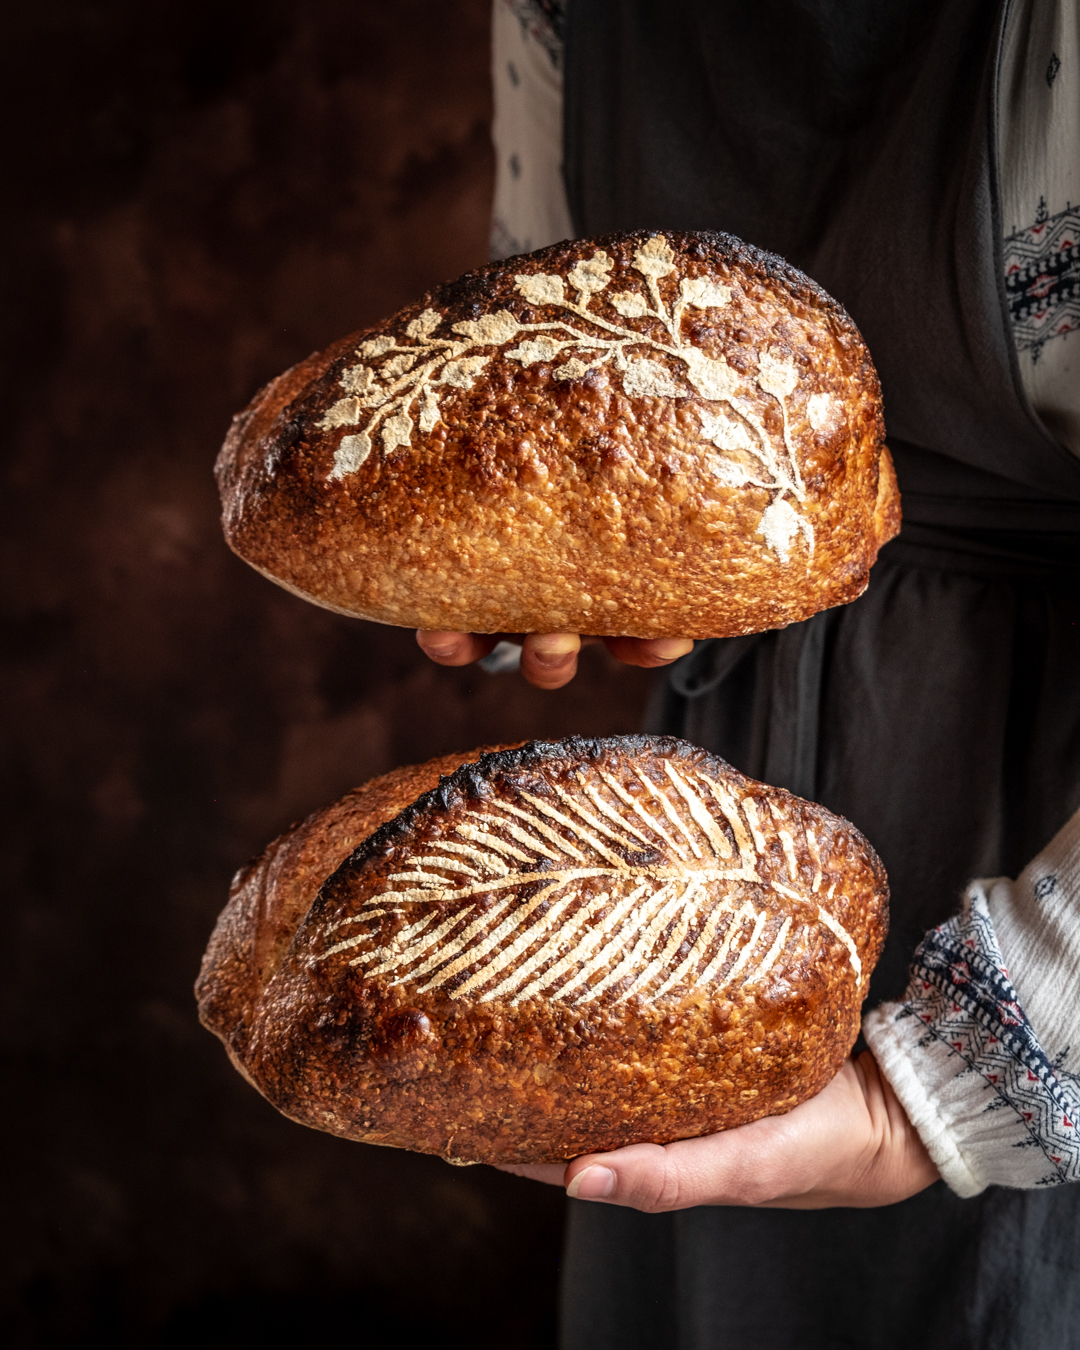
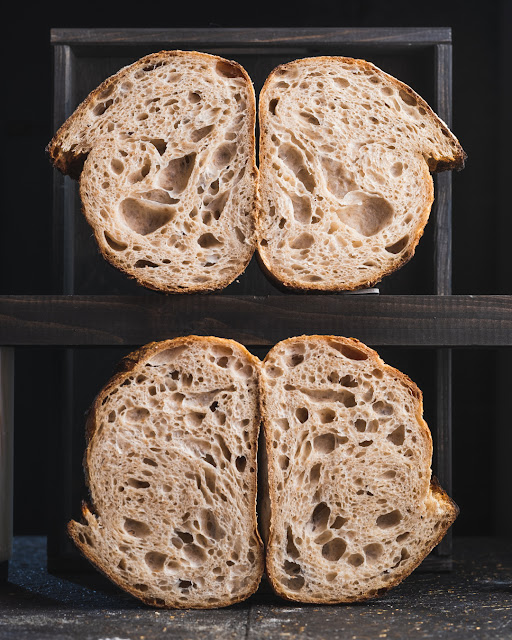
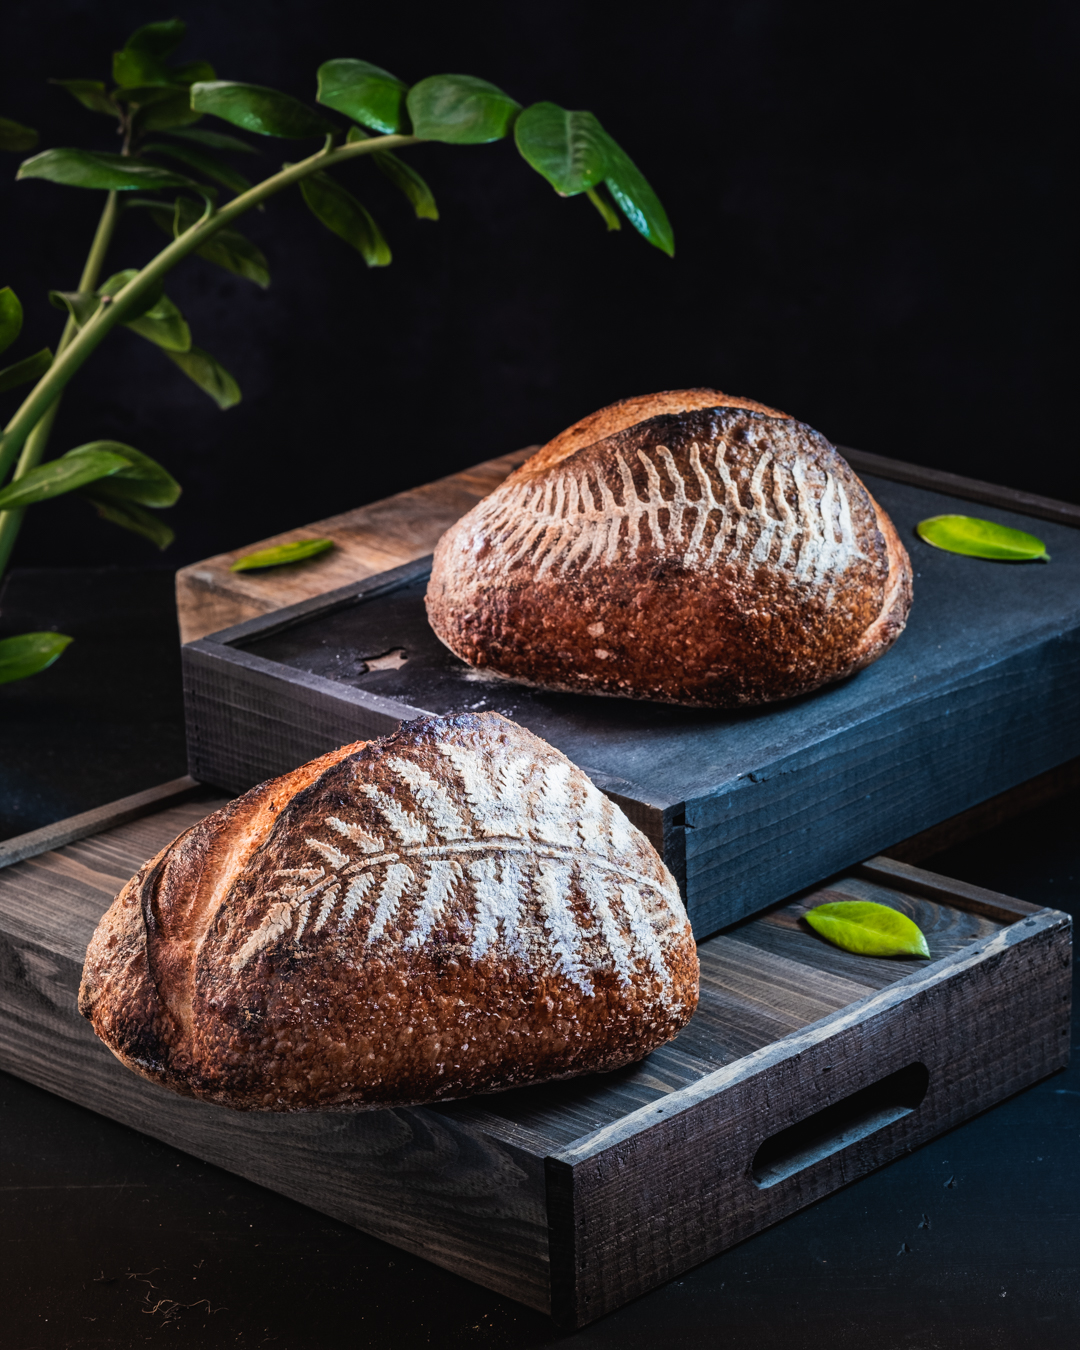
Take a bread recipe, make it until you are satisfied with the result and then you can play changing the flour. This is what I am doing with this recipe: I changed the spelt flour with rye flour in my previous recipe. The result may have the same look but there are big changes to the dough and I'll explain why. 
The spelt flour makes the dough very elastic while rye is fermenting faster. Rye flour is also more absorbent (at least mine because it is partially whole rye).
So, the spelt version needed more coil folds to build the structure while rye has already a good structure feeling stiffer. Fermentation time was reduced also.

If the aspect is similar, the taste is slightly changed. Rye flour comes with a more rustic taste while spelt has sweeter influences. Do I like one more than the other... hmmm... difficult to say. They are both sourdough bread and the taste is amazing in both cases. The differences are just a matter of nuances.


Here you can find the recipe:

Spelt - Whole Wheat Sourdough Bread

 When you make a dough combining multiple types of flours you should be very careful about the effect each dough has. Usually, if you put a type of flour in a percentage lower than 10%, the influence is minimal in the dough consistency and mild in the taste. When you increase this percentage, the characteristics of this specific flour start to be noticed. 

I made this bread with 3 types of flour: whole wheat, spelt and bread flour. Whole wheat is more absorbent and impedes the gluten network to develop easily. That's why a trick is to hydrate the whole wheat flour the day before so that the bran is softened through better hydration. The spelt flour adds elasticity to the dough. This means that you can stretch it more. The extensibility of the dough then has to be created by adding an extra coil fold. (the 4th one). The bread flour I used, although with 13% protein content was also very extensible and less absorbent than others I normally use. With these characteristics, making this bread is tricky.

First time I tried it I was not very happy with its dough structure and I over fermented it. The bread was perfectly eatable but for sure, was not what I expected it to be.

With the lessons learned from this first failed attempt, I focused on improving 2 things: dough handling and reduced fermentation time while keeping the list and quantity of ingredients exactly the same. To build a better structure, I added a 4th coil fold. For the fermentation, I definitely understood that this combination of flours, had to have a higher ph than 4.15 (as my previous test was). I shaped it then at ph 4.33 and put it in the fridge at 4.25. Only these 2 changes transformed a recipe from zero to hero.

This is a perfect example of improving the method and not changing the ingredients or their quantity. The method matters! There are many methods out there that make fantastic loaves of bread but you need to master yours and know the implications of changing it.

Chocolate festive cake


Chocolate festive cake


This was the cake for my husband's birthday last week. It was also the test cake for my son's birthday cakes. All the 3 followed the same principles, one sponge cake cut into layers with chocolate ganache between them. Similar compositions and tastes but three different looks. You may find the ones of my son in my previous 2 posts. 


Every cake had a different target: this one to look more festive, the "5" cake to be a child's cake and the last one to be easily transported. Which one do I like the best? Difficult to say as I associated them with special occasions. Doing all of them in one week was a marathon but with every challenge like this comes a lot of lessons learned.


The first lesson learned was to master the sponge cake both in cocoa or classic versions. Learning its tricks took me sometime over the years and now I can happily say that I feel comfortable baking them.


A second lesson learned was to play with ganache. This thing is super sensitive to temperature and depending on the purpose you might want a thicker or thinner texture. I found myself putting the bowl sometimes in the microwave to heat it a bit and sometimes in the fridge to cool it. It is however the easiest cake filling that you can do (after the basic whipped cream of course). I like simple things for basic staff and focus more on the artistic part of it.

You may find the complete recipe for this cake below.

Race cake


This was the anniversary birthday cake of my son. It took me a lot of time to prepare it and even more to make all the decorations. do I regret spending so much time on just a cake? Not even a minute. I made it with all my heart and I would do it again if needed.

I divided the making of this cake over 2 days: on the first day, I baked the sponge cakes and prepared the ganache, on the second day I shaped and layered them and prepared all the decorations.

The decorations took me almost a full day and I was helped by the little one, placing the big white and black squares on the side. My daughter participated also in the decoration process so it looked more like a family cake.

But a good cake doesn't only have to look nice it also needs to taste good. The combination of cocoa sponge cake and chocolate ganache is heaven. The guests appreciated the cake to be light, not overly sweet and delicious. The kids invited to the party loved it too, as most of the plates I cleaned up after were empty.

I was very careful with the sugar on this cake. There is a huuuuge (for me at least) amount of sugar paste (~750g) to cover the cake. The sponge cakes have 200g of sugar each, but I used only 1.5 sponge cakes, so I can make a total of 300g. There is also a good quantity of sugar in chocolate and there is no need to add more. Then another 100g for the syrup. If you start counting, the sugar sums up, however, remember that chocolate in its pure state is bitter and children do not love it like that. So a certain amount of sugar in this cake is a must. The trick was to find the right balance and I can happily say it was perfect.


Chocolate coated bundt cake

Last week it was a marathon of cake baking for me. With 2 anniversaries in the family, I managed to bake 4 sponge cakes for 3 finished festive cakes. It was a successful challenge and, as the time was so short, there was no place for tests or failures.
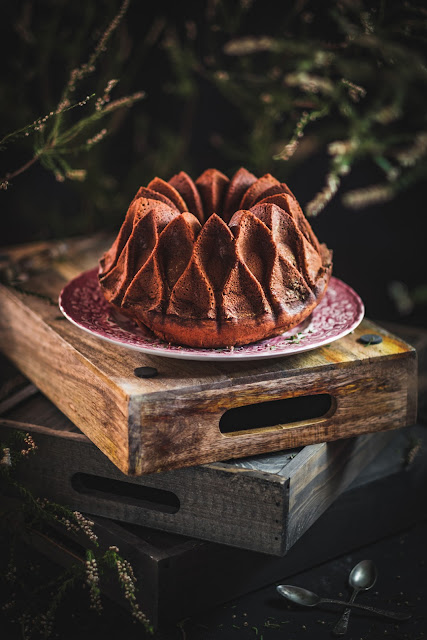
I went with the version of the cake that I master the best: the sponge cakes. The one you see in this post is the last one, made for the anniversary of my son at the school. It might look simple but is not. Basically, it is a sponge cake with the bottom cut in through the centre of the cake to introduce a chocolate filling, then covered back with the removed parts of the cake. The glaze was practically painted with warm chocolate ganache, as it was too thick to reveal the beautiful shape of this bundt. A thinner glaze would have worked better but I had to choose one that hardened to avoid transport issues.
Unfortunately, I do not have a photo with the inside as it was not cut by me but I will repeat this process with a future cake for you to see.

Happy birthday, my little bunny! I do not know when these years have passed since you arrived in this world, but you brought so much happiness and joy into our lives!

What is the deal with Open Crumb Sourdough Bread?


Open crumb is a dream for any baker for its imposing outside and inside look. 

It is a wish for a professional baker, as bigger loaves are quickly sold. 
Open crumb is a pride for a home baker, prooving high baking skills and mastering the fermentation process.

But open crumb is not just about the look. 
Pushing fermentation to the maximum means that the sugars in the dough are more consumed turning the bread less caloric. This means healthier bread.
When I started making sourdough bread I wished I had all the details to understand how it works. It took me many years to practice and observe the dough. It took me many books to read, articles or posts to digest or videos to watch. The trick in all this way was to pay attention and learn from my own experience.
I have never followed a baking school, everything I know is self-learning. There are many materials out there to learn from, free or paid, covering from the basic to the most scientific explanations. But the most important is to practice what others say and develop your own baking skills.

What I love the most about sourdough baking is that you never feel you master it completely and there is always something new to learn from every bake. Unfortunately, is not that simple to follow exactly a recipe, you need to learn to read plenty of signs that recipes do not mention. You need to develop a feeling for the dough. This happens with your eyes and with your hands.
On the way, you need to understand WHY every step is done and what it brings. Otherwise, why do it?

Open crumb was and still is for me a challenge. The truth is that I do not chase it every time. There are other types of bread catching my attention too from different perspectives. But open crumb is about perfecting the fermentation which is the most important in the sourdough baking process.
It is the jewel of a baker although I know many who will not make or buy an open crumb but a more dense one.

I tried to gather in this video all my lessons learned and share them with you. I hope that you take a shorter way to perfect open crumb than I took, and I offer you what I wish I had known 8 years ago when I started baking sourdough bread for me and my family.

However, this is not the bread to spread butter on.  Pick rather a sandwich loaf.

It is instead the perfect bread to accompany a soup or another dish.


Here is my conclusion gathered in a list of SECRETS for achieving open crumb:
     1. Use stronger bread flour
     2. Use a healthy sourdough starter
     3. Use higher dough hydration (>70%)
     4. Develop a strong gluten network
     5. Extend the fermentation to the maximum without over fermenting
     6. Learn how to read the dough
     7. Improve your dough handling skills
     8. Use steam for baking

Rum Raisins Mini Cakes


The reason why alcoholic drinks go into cakes is mainly for aroma. Do not worry about alcohol, it will just evaporate during baking so it is fully safe to give these cakes to your kids or to eat them before driving.
When it comes to rum, my mind goes to pirates. I am not a big fan of this drink but I love the aroma. For cakes, you can use rum essence in general which is much more concentrated in terms of flavours but the drink itself can go as well. Rum and raisins are an undisputable match, both the taste and flavours go so well together.

This is a simple cake and I noticed that it match better small moulds, rather than big ones. It has a tendency to retract a bit when cooling no matter the baking time. They go well in cupcakes, mini cakes or bundtlettes moulds. However, the taste and texture are just perfect and I invite you to try it...

Open Crumb Sourdough Bread

Do you believe in baking moods? Do you believe that your mood will influence your baked food? I don't. However, there are many times when I am not too much in a baking mood but I have to bake bread to feed my family. The results are most of the time in line with my mood. Other times, when my baking motivation is high, the results are diverse: worse, medium or over expectations.

Lately, I haven't been very inspired to bake bread but I did it anyway because we needed it. But baking for me is a passion and when I feel tired or uninspired I just need a break to recharge. 

This is exactly what I did. Last week, I took a little break from everything, from job, from baking, from other passions and generally from the daily routine. Instead, I visited a dear friend, brought the kids to a zoo and to an animal wild park. These few days made miracles, and everybody from the family enjoyed it. In the last day, I felt I missed my kitchen and trying new baked things. Yes, that was exactly what I was looking for and this little break put me back on track as I came home full of energy and with plenty of new ideas.

I switched to a new recipe that I believed it would fit to my open crumb purpose. I went for a 20% whole wheat, a high hydration bread closed to 80% and planned to change some variables to see how the results would influence my loaves.

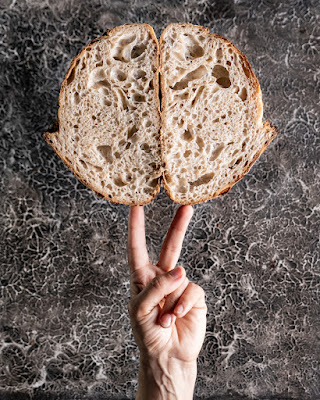
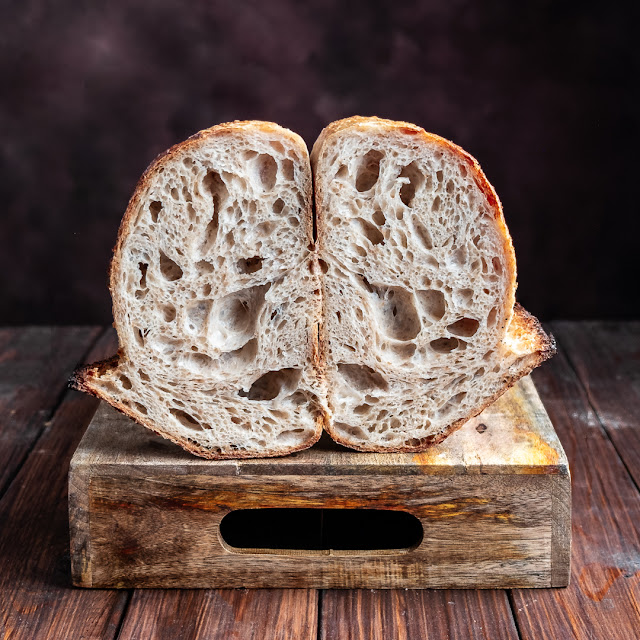
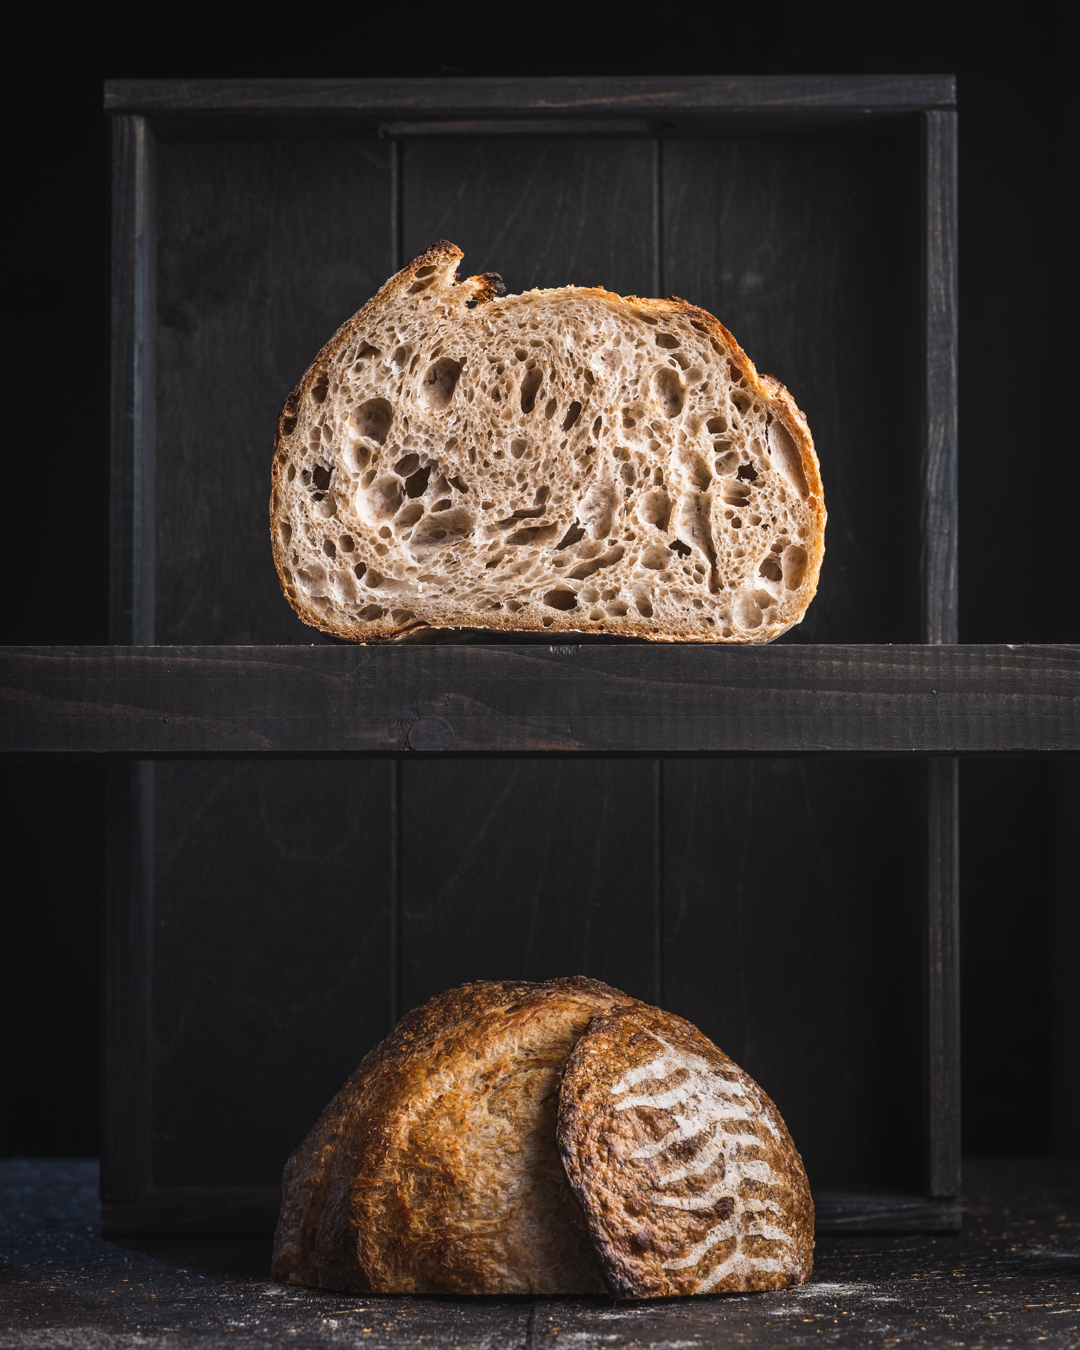
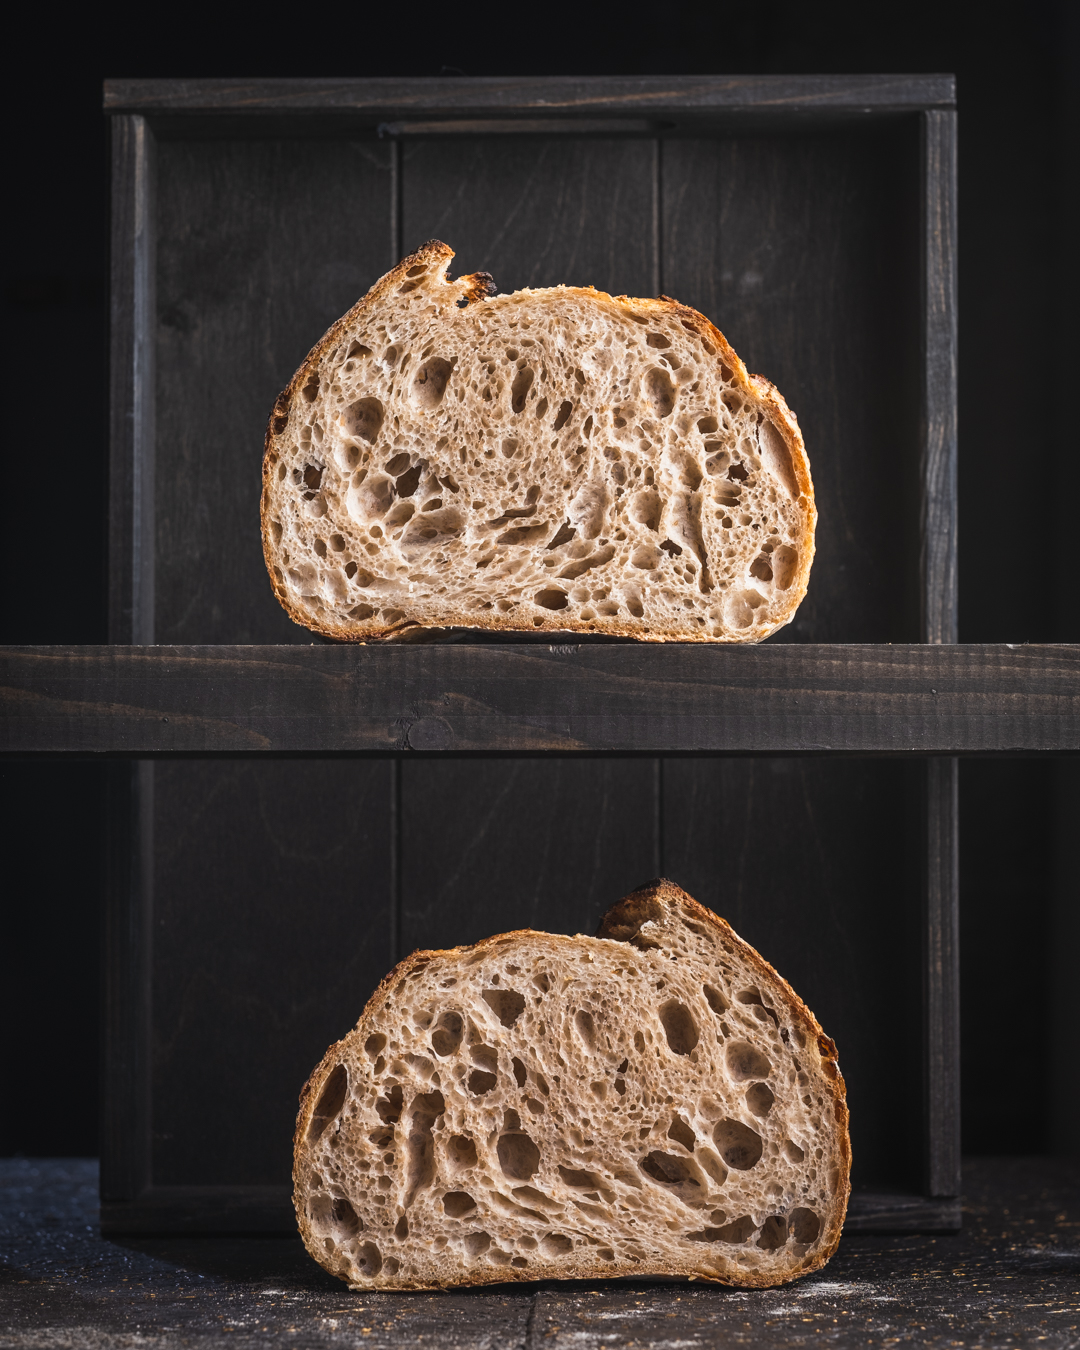
These photos are probably speaking by themselves. Leaving the modesty behind, I call this one of the best open crumb I've ever made. Open crumb for me was never the perfect bread I can produce. Open crumb is about mastering the process in order to control the results. But perfection comes with the process, not with the end result. There is no such thing as one perfect bread, there are many perfect loaves but depends on the occasion and what you are trying to achieve. There can be perfect sandwich bread, perfect rye bread, perfect whole wheat bread and so on,  and yes, there can be the perfect open crumb bread. This is what I was targeting, this is what I've got. Was this related to my high baking mood? It is an interesting link but I believe in science and practice more than in the alignment of the stars in my horoscope. 

Do I master the process then? Well, this comes with consistency in baking and most probably I have stepped with the right foot ahead. However, the journey is much more enjoyable than the result itself, right?

To my classical process, I made little changes and I will take them one by one to speak about these changes. In my next bake, I will try to isolate the variables to see the direct impact on the final product but for this bake, they worked very well together.


1. Hydration of the whole wheat in advance.

Hydrating the whole wheat flour in advance is not new to me. I've done it before and the results were noticeable. There is a simple logic behind it: whole wheat contains the bran of the wheat grain and it is taking much longer for the bran to hydrate than it takes for the flour. This recipe contains 20% whole wheat flour. So, the day before making the bread I hydrated the whole wheat with almost the same amount of water (reaching 100% hydration for this mini dough)and left it on the counter in the kitchen overnight. My kitchen is cold these days during the night, it barely gets 15ºC so no worries about extra enzymatic activity in the flour through my 8 hours time sleep. During the summer, I would put it in the fridge to stay safe.

2. More frequent coil folds

The bran from the whole wheat acts as a barrier in the gluten formation. Reorganising the dough more often helps with the structure and makes that only the strong bonds are kept and the weak ones are rebuilt into new stronger ones. I had started with the idea of making one coil fold every 30 minutes. This resulted in 8 coil folds. I have never done so many for a dough. As a practice, it was a little disturbing to babysit the dough every 30 minutes with a coil fold but well... when you are motivated you are not too much bothered.

3. Increased fermentation.

Pushing the fermentation to a higher extent is one of the key elements in achieving an open crumb bread. I knew that and the most tricky question is how much? What was the sweet spot? I usually put my loaves in the fridge for the retard when the ph is around 4.2. But what if I would stretch it up until 4.1? Would this be too much? Could I push it lower than 4.1?

4. Optimise the time between scoring and baking.

One of the things I've noticed is that my 2 loaves that I bake together look different. They come from the same dough so fermentation is not a high factor. But my usual process is to decorate and score the first loaf and then pass to the second and put them both together in the oven. I also tried to put already the first one in the oven after the scoring and decoration were over but it was not the best process as this first loaf would bake alone without steam until the second one was ready to go in the oven. So what I have tried was to decorate both the loaves, pass to scoring both and then put them in the oven. In this way there was no bread waiting for the other after scoring.


All these changes had for sure an important role to play in the process but some probably influenced more than the others.

Let's analyse a bit each of these changes.

The hydration of the whole wheat flour in advance was for sure a good idea. I felt in my hands a dough that was not breaking easily. This is for sure a keeper for my next attempt.

The frequent coil folds had a good impact in organising the dough and it made a fantastic net in the crumb. But, man... 8 coil folds... is a bit overkill. More coil folds is a good idea but distanced at 45 minutes maybe it would be easier (hoping that it won't destroy the beautiful crumb) next time.

Fermentation was an absolute key here. With a perfect gluten development, the fermentation at 4.14ph when shaping and 4.11ph when putting it in the fridge was matching perfectly. I am sure it would accept  even a bit lower ph but not without an impact:

  • bigger holes. I actually do not want them bigger, I want a slice still to remain tangible without seeing everything through it. Like this, it is perfect to accompany any dish and even to spread butter on it. Larger holes would make the loaf only suitable for soups and won't be able to hold anything soft on it. 
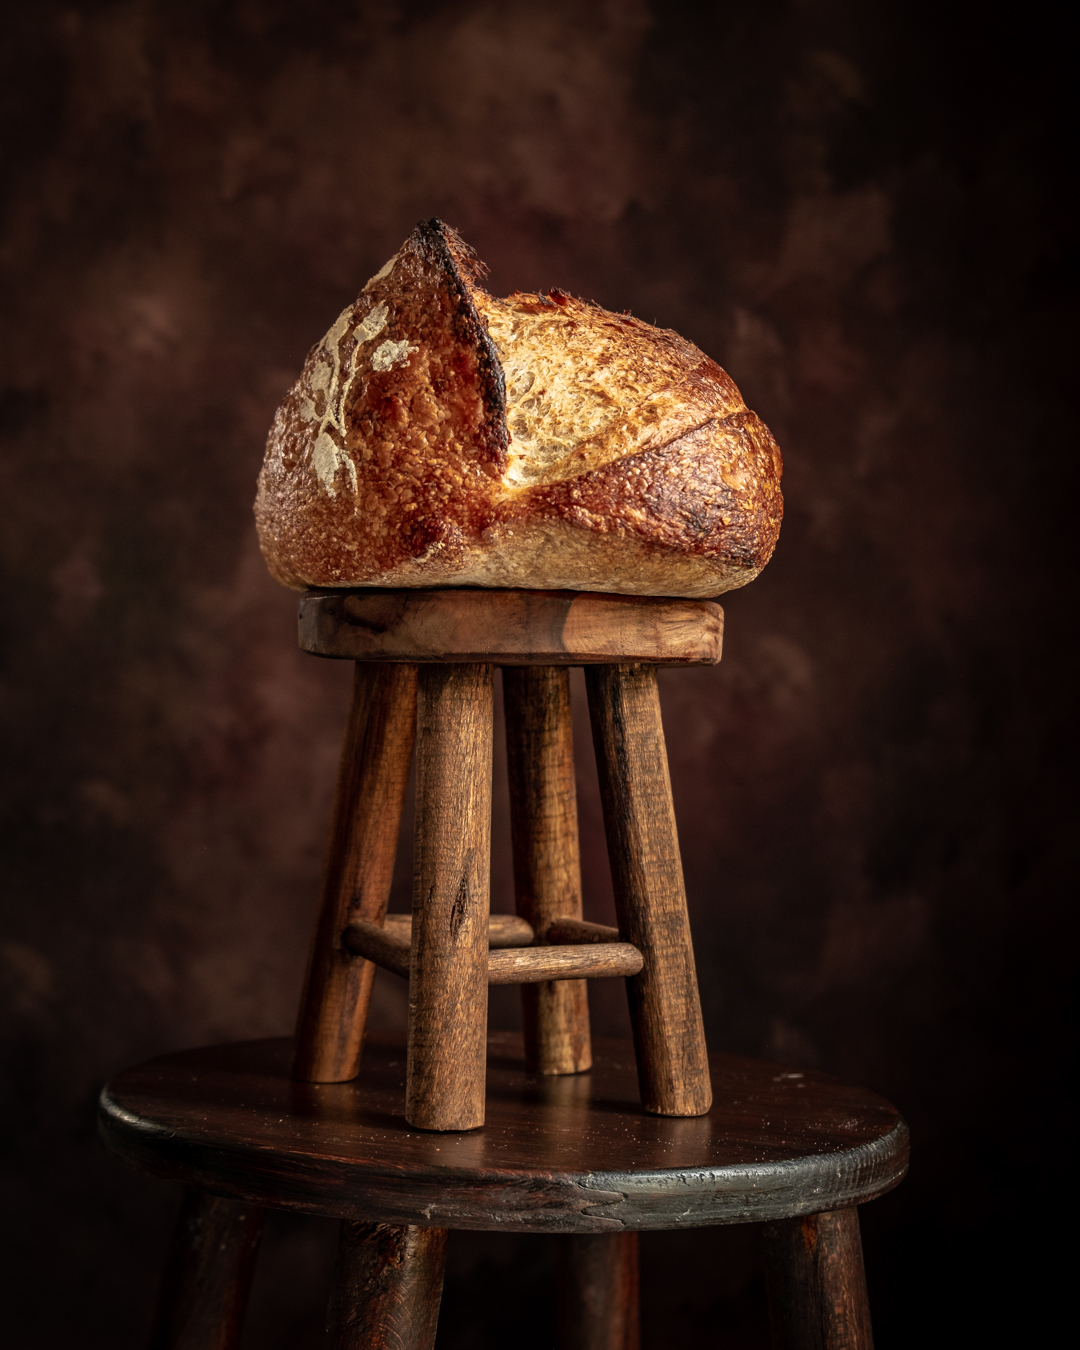
  • losing the ear. It is very probable that with a higher fermentation when exposed to heat, the bacteria won't have enough power to open an ear. Even if this is just a visual aspect and I know people who would avoid bread with ear when choosing from a shelf, it is for me proof of catching the sweet spot of fermentation.
With my next attempt, I would not change the fermentation, I would stick to those ph numbers to guide when to shape and when to put the dough in the fridge.
The last is about making the steps of decorating and scoring for both the loaves. It was a clear indication that my loaves looked different because of the waiting time. Now that I know, I will keep this lesson learned.

These were my conclusions, and now I am ready for the next bake. So curious if I can get consistent results!

Marble Bundt Cake


During my childhood, my mother used to have a limited set of cake recipes that she did over and over again. She was not at all in the mood to try new recipes, she always took the beaten road in the kitchen. But those cakes she was doing were always 100% success guaranteed. One of them was called "chec", a super simple recipe with eggs, flour, butter, sugar and a bit of cocoa to colour it. This cake had a specific taste and texture: super fluffy and soft and almost melting in your mouth. The crust, although a little crunchy was also melting in your mouth. The cocoa was added only for the interior aspect and not to influence too much the taste. At least this is how my mother was doing it.
I found this recipe in one of my books and I was tempted to try it. It was only when I tasted that my mind travelled in time and remembered me in an instant about my childhood "chec". I sliced it and gave a piece to my kids and one to my husband. After the first bite, my husband exclaimed: ÿou made "chec". Well, it was obvious then that the memory I had from childhood was not just mine, it was his also because it was a very popular cake in Romania back then. Probably still is because of its simplicity and tastiness.

Regarding the original recipe, I had to adjust seriously. First, I had to measure the ingredients in cups and then weighted them in grams. That is because, if I want to redo the recipe, I always prefer grams for accuracy. But the original book had the wrong quantities indicated in grams. (eg. 21/2cups of flour does not equal 625g of flour, but only 300g). The second was the sugar, 400g? no way... I reduced it to 150g and honestly, I didn't feel it needed more. Third, I do not find buttermilk here so easily. I can replace it with milk and lemon juice, but I only used milk. If there is no acid (like the lemon juice or the one from buttermilk) the baking soda is useless, so I just removed it and increased the baking powder quantity. The cocoa, from 125g indicated, I put only 9g, as I only wanted it for a bit of colouring. I made this cake before with 30g of cocoa powder and the layers were distinctively dark and with chocolate flavours. If this is what you are looking for, feel free to add more. For me, the 9g were just perfect for my purpose.
With all these changes, I think there is little resemblance to the original recipe but I will note it down just to indicate from where my inspiration came from.

I simply love this cake and is one of the few I would eat myself as it creates more than just a sweet pleasure, it brings back memories. This is the perfect cake also for the snack of my kids in school, so I am sure I will revisit it again and again.

Lemon Poppy Seed Bundt Cake(s)

I've learned my lesson with the Bundt cakes recipe book and now I can easily spot where the errors are. Two cups of flour do not translate into 500g but 240g. You can imagine how off my recipes were when I was trying to make them by weight? But it is OK, now that I learned the trick to double check the quantities in both measurements, things look more encouraging.

I promised to come back with some tricks I learned during my baking researches and I would like to share them with you here. This is the science of baking so read them carefully.

One thing I noticed is that some recipes call for baking powder while some are calling for baking soda. Some, like this one, is calling for both. Have you ever wondered why and when to use one or another?

Baking soda (sodium bicarbonate): 

  • Baking soda is an alkaline substance that reacts only with acidic ingredients like buttermilk, lemon juice, cocoa/chocolate, sour cream, brown sugar, yoghurt, vinegar. If none of them is between your cake ingredients, then the baking soda does not help rising your cake. 
  • As a general rule, use 1/2 teaspoon of baking soda per cup of acid ingredient.

Baking powder: 

  • Baking powder instead is more versatile as it is a combination of baking soda (base), cream of tartar (acid) and a bit of cornstarch (to block the reaction between the two while on the shelf). So, in its chemical structure, it already contains an acid.
  • As a general rule, use 2 teaspoon baking powder per cup of flour. 
  • too much use of baking powder in a cake gives a metallic, more salty and acidic taste

Baking soda is more powerful than baking powder. If substituted by baking powder, you need to add a higher quantity for baking powder. (usually a 1:3 ratio, for example, 1 teaspoon of baking soda can be replaced by 3 teaspoons of baking powder)

Neither baking soda nor powder is particularly healthful or harmful when used in the usual quantities. They are however chemically obtained substances used in baking (and not only).

You use both when there is not enough acid ingredients and you need an extra lift from the baking powder.

None of them will match the benefits of a cake risen by sourdough but this is another story.


Enough with the leavening agents, let's talk about this cake(s).

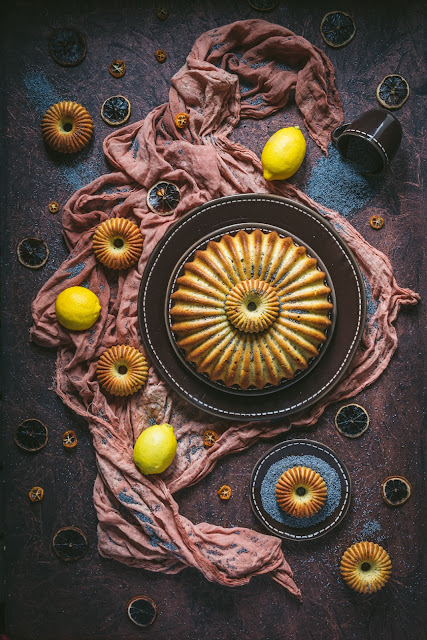
I've got this silicone set of moulds some time ago and Ifind that they create an incredible visually pleasant cake. I have not used hem very often because they are not very practical: they are difficult to fill in (not like metallic bundt pans) and they have a very small size. The little ones are even smaller than a normal size cupcake and the big one probably doesn't take more than 3-4 cups of butter. But they look super nice together and I love them.

They rose nicely in the oven which is a good sign that the balance of ingredients was right. The batter looked like a batter and I had great hopes before baking them. I wish I had known the quantity I needed for all of these moulds before as a cup more would have been perfect to fill in in full the big bundt.

However, I am very happy with the end result. Especially that after reducing the sugar in almost a quarter from the original recipe (but sssht, this is our secret!)