RSS
Showing posts with label Cakes. Show all posts

Lemon-cardamom oil cake (baked in air fryer)

Most of the bundt/cake recipes I know are butter-based. But I remember that when I was a child, butter was a luxury and my mother was making most of the cakes using oil as fat.

The best oil to use for this cake is by far olive oil. However, the cake can be made with any vegetable oil. I had in my pantry an open bottle of peanut oil and I wanted to use it, so this is the oil I used for this cake.

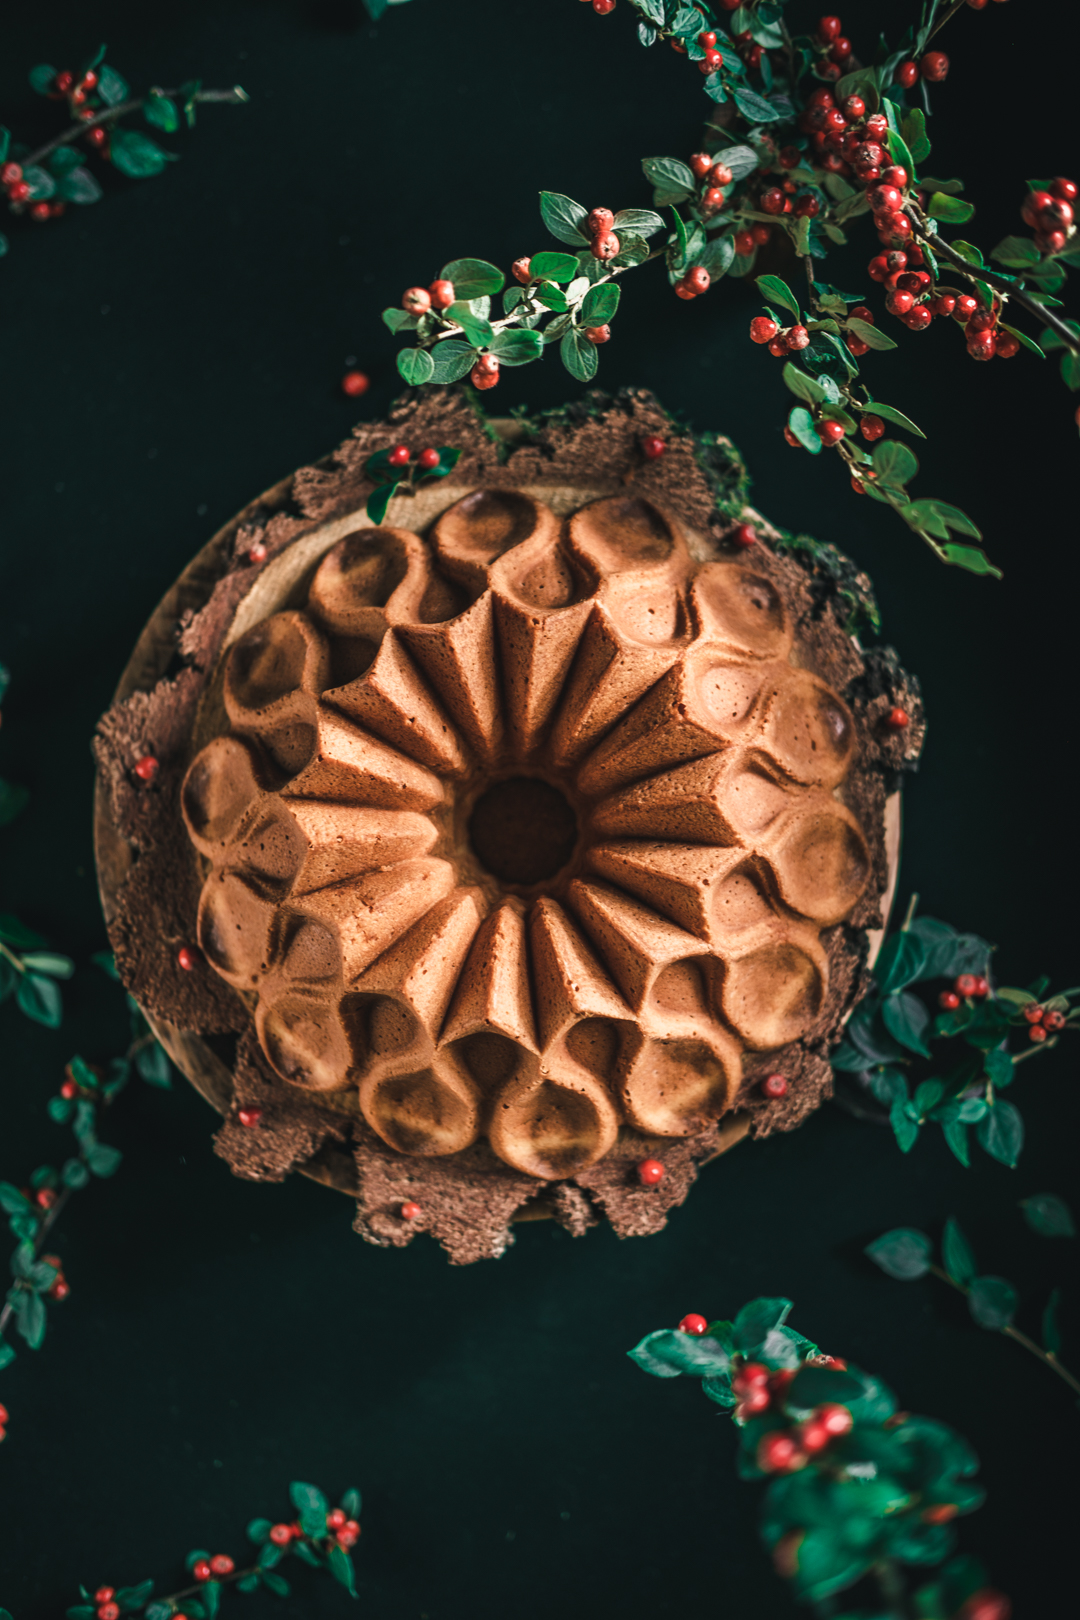
When I bought my air fryer I had no clue how versatile such a mini oven could be for baking cakes. Actually, they turn out even better than in my good old kitchen oven. There is however a limitation to baking in the air fryer and that is the size. My air fryer drawer is 24 cm wide, so only pans under this dimension can fit inside.

As for the pan, some time ago this silicone daisy mould caught my eye and I fell for it. However, I had plenty of cake pans and moulds and I was hesitant to extend my collection because of the limited space to store them. With the air fryer, I had to evaluate all the pans I owned and select the ones fitting the drawer. I did not count many for this purpose. That was the moment when I recalled this small daisy silicone mould left waiting on my wish list. The next step was obvious,  this beautifully shaped mould joined my collection.

The recipe is an adapted one. The original one is with orange, not lemon-based. As it is more often to have lemon in the house rather than oranges I changed to lemon. I also had to adapt other quantities like (you guessed what if you know me...) sugar and improve the structure in the absence of sugar by adding more flour. 

I am very happy with the result. It is a super moist cake, not very sweet and with a distinct aroma due to the cardamom.


Soured Cream Chocolate Cake (baked in the air fryer)

This year I started a new adventure in cooking dishes into the air fryer. Cakes, of course, were on the list to test and I was surprised to see that they actually turned out very well. There are some parameters to tinkle but I was really surprised with the results.

This cake recipe is adapted from a new recipe book I bought. I was disappointed that the book had photos for only 1/4 of the recipes. In the era where videos of recipes rule the internet, a cake book without pictures to inspire and motivate you to bake for me is essential. I was at the point of returning the book but decided to test some recipes first. The resulting cakes, even adapted by myself (you know me, I cut the sugar from everywhere) were surprisingly nice. So, I decided finally to keep the book. I still feel like in the times of my mother where you could have just imagined how a cake could turn while reading a recipe because there was no image to show. I give you then my touch and present the final image of the cake here.

The cake is very moist, not very sweet and not bitter either. I would try even one more change next time, by replacing 20g of cocoa powder with all-purpose flour.

Enjoy!

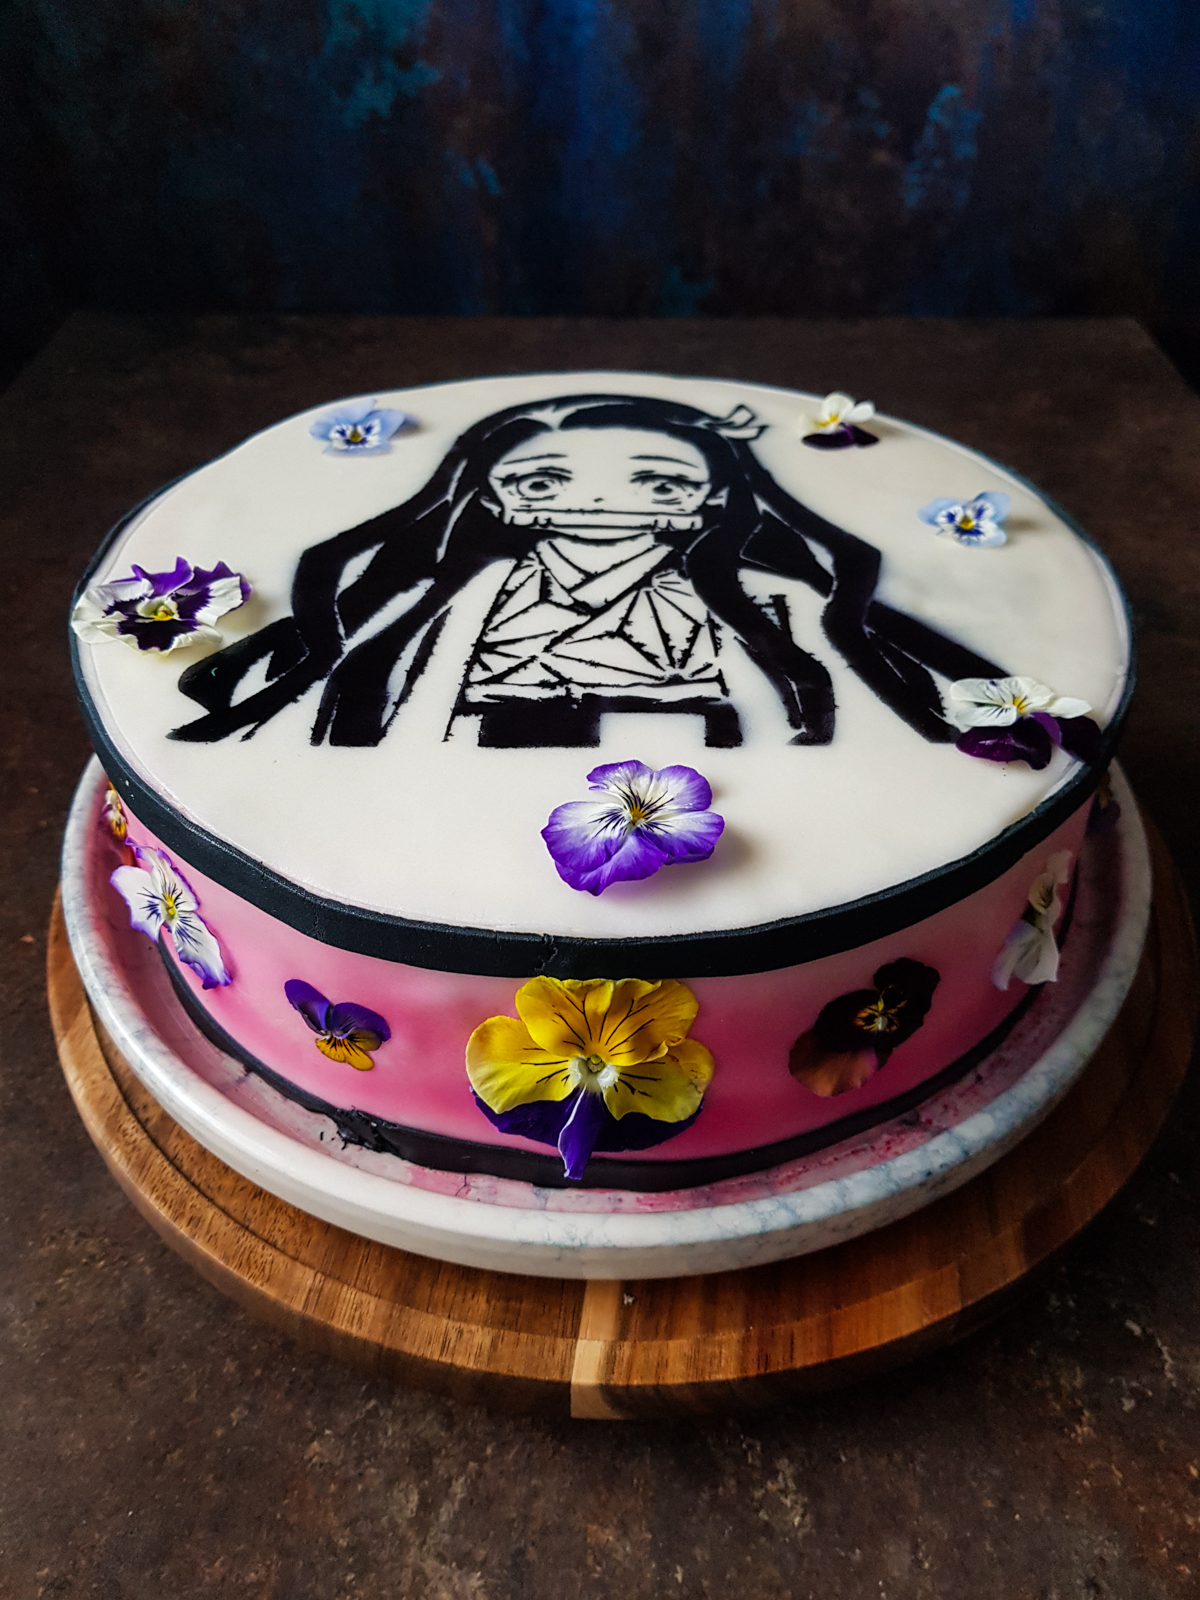
Nezuko Cake


I make just a few anniversary cakes yearly, but when I do them, I want to be remembered.


This weekend we celebrated the 11th anniversary of my daughter. At this age, doll cakes are not in fashion anymore, so I followed her taste. Nezuko is her favourite character, so you can imagine that the cake should have been related.


Luckily, her mother bought a plotter recently, so making stencils was a piece of cake (or should have been...). Her mother also added to her tools collection a cake airbrush for this occasion. I can only conclude that, me, as her mother, sometimes I challenge myself maybe too far. But in the end, for my first stencilled cake, it doesn't look that bad. The most important thing was achieved, my daughter was very proud of her anniversary cake and me, in this way I achieved my goal, to make a cake to be remembered.

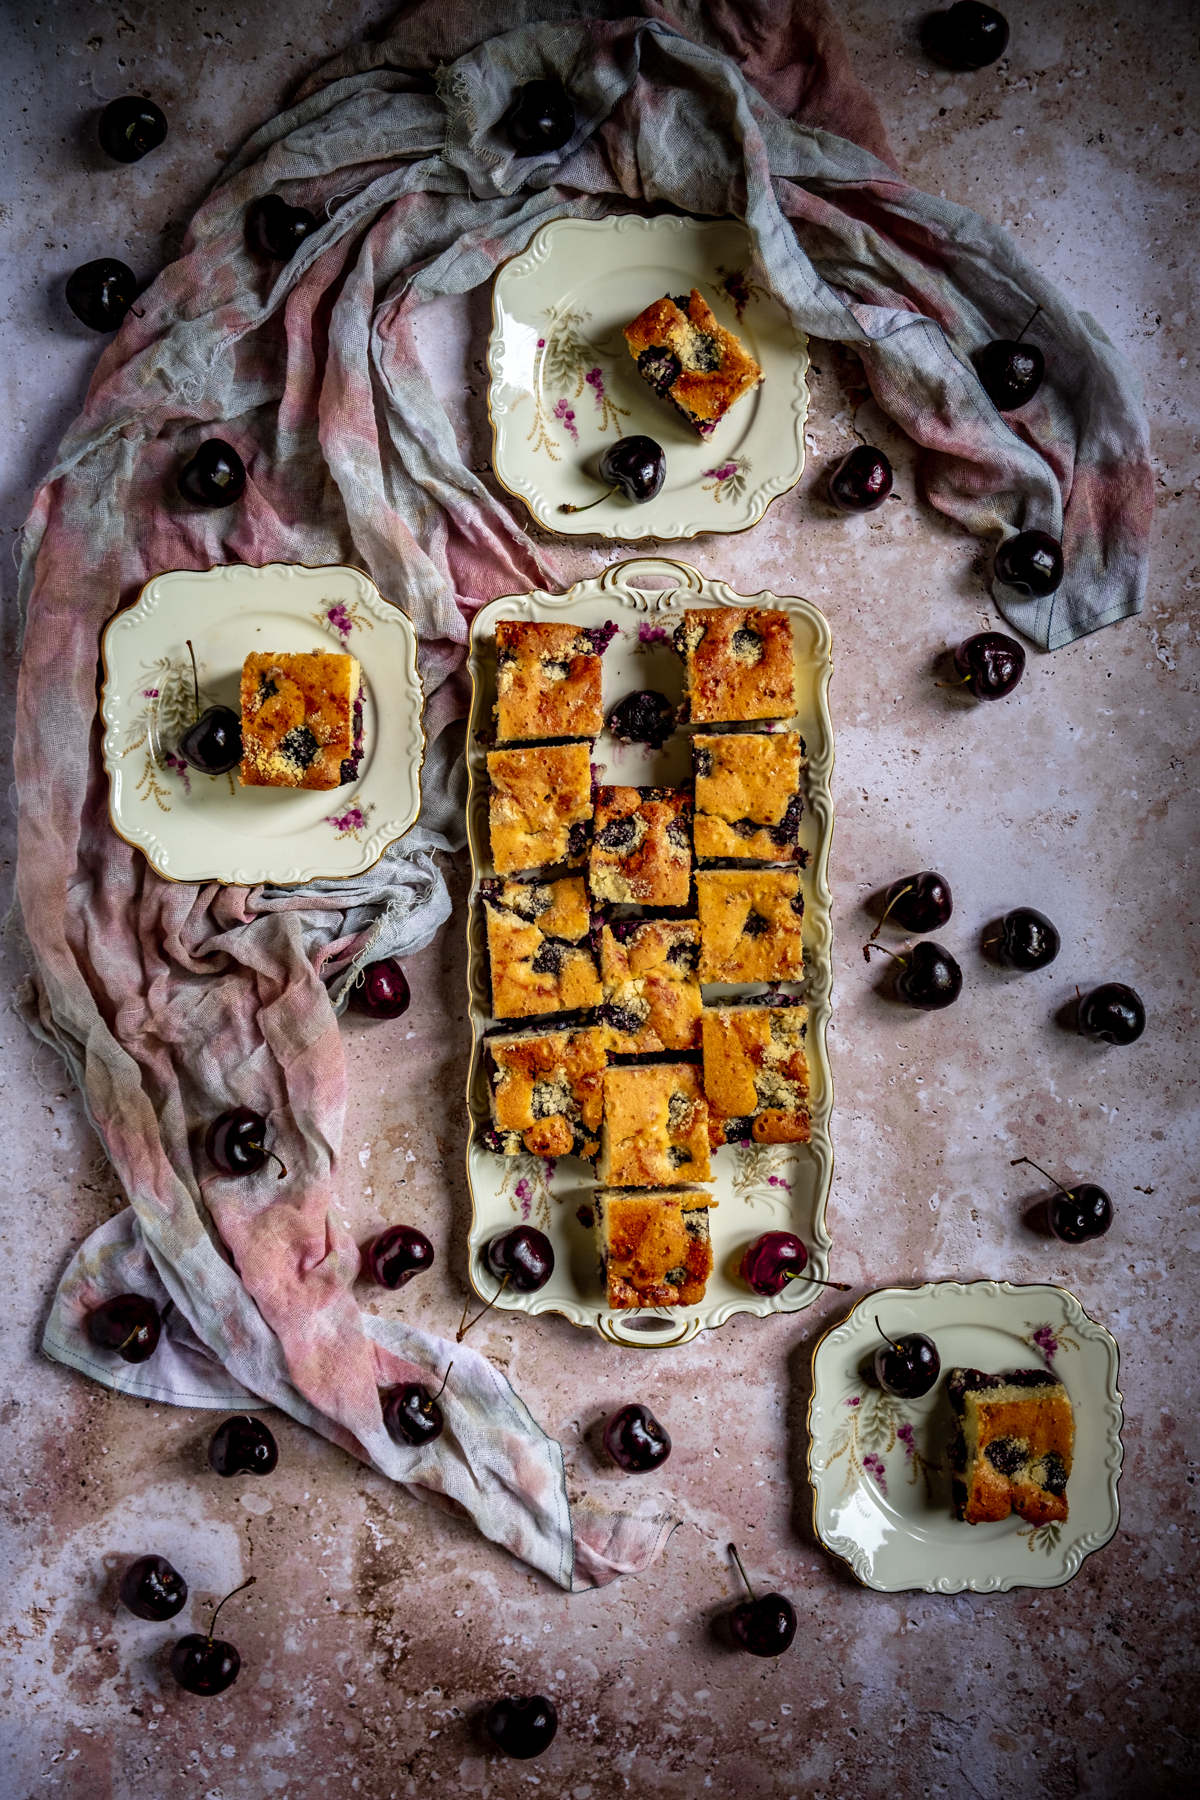
Cherry pound cake

A pound cake usually is a simple recipe with 1:1:1:1 ratio of ingredients. This means that you put inside the same quantity of butter, sugar, flour and eggs. Well, that's the theory. Practically, adding that much sugar for me is a bit too much considering that these black fresh cherries are also super sweet. I then cut the sugar in 2. Sweetness turned out just perfect for me. 


Even if I love this recipe, I am tempted to play with some of the quantities to adjust to the height of the glass pan that I have.

I made many cherry cakes over the years, and most of the time I used another method, first foaming the egg whites, then the yolks and gently mixing in the flour. That recipe has no added fats and tastes drier even the cherries add moisture inside. This recipe starts by beating the butter with sugar that will create bubbles and just then, adding the eggs. The taste and texture are on the other side of the scale: creamy, soft, wetter.  
The 2 recipes might look the same, however, they will be different in your mouth.
Testing somewhere an addition of fat somewhere in the middle makes me curious about the taste and consistency. But for now, here is the recipe...

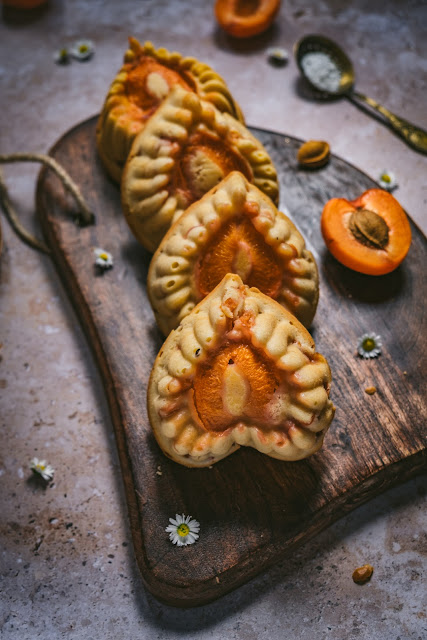
Apricot Cake Hearts


For this recipe, I used the same batter as for the Simple Bundt Cake
To make it an apricot cake, I've added 500g of diced (or sliced) apricots, just before scooping it into moulds.

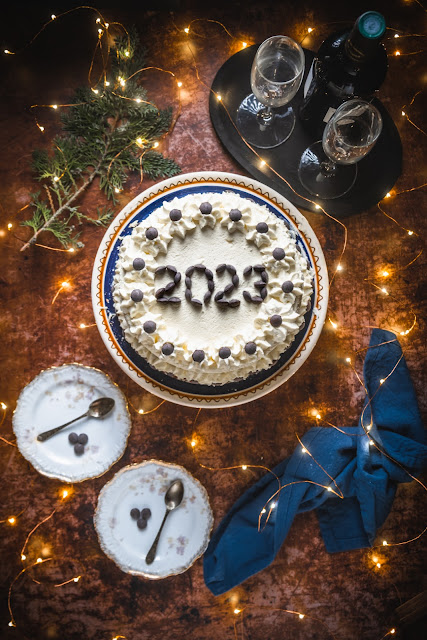
2023 New Year's Cake


Happy New Year! and welcome to 2023!

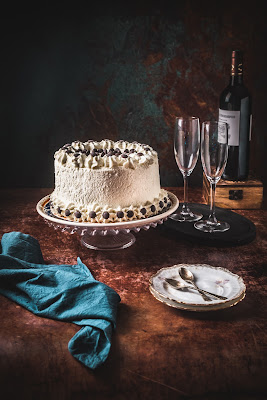
I was so not in the mood of baking a cake yesterday but my daughter asked for one and I simply couldn't refuse her. Being tired, I didn't want to go for a super fancy recipe so I picked a combination of my previous cakes that I was sure would work and be quick. Festive cakes usually take a lot of time to prepare and decorate, I love to launch myself into discovering them but when my mood is not there I pick something simple.

This cake although looks fancy is not difficult to make. It is a classic sponge cake (takes max 30 mins of preparation) with white chocolate ganache (takes 10mins to melt and 5mins to whisk) and covered in whipped cream (30 min to assemble and decorate).

I made the sponge cake and the ganache in the morning and late evening I assembled the New Year's cake with my daughter's assistance.

Here it is... 


Baked doughnuts with discarded sourdough

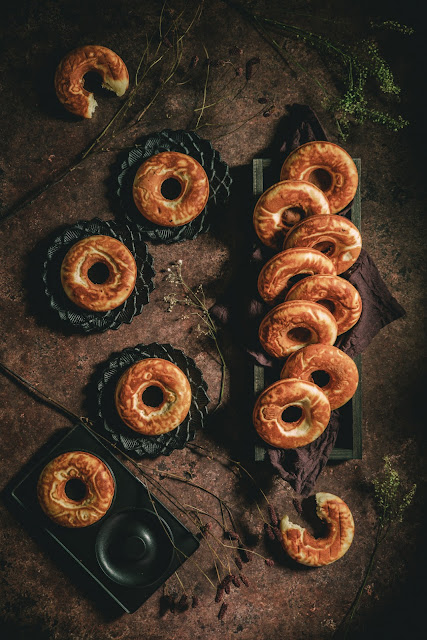
This was the first time I tried doughnuts with sourdough. I had the idea in mind for a while but never had the initiative to actually put it into practice. My previous recipe of doughnuts turned out fantastic when baking them but after cooling they reduced their size and this was a bit disappointing (for me at least). So the motivation to try the version with sourdough went high. Not classic sourdough, because that requires a bit of preparation upfront but discarded sourdough. I always have a jar of discarded sourdough in my fridge and when is filled I know I have to bake something with it. 
I have 3 sourdoughs that I feed regularly but not all of them stay out of my fridge at the same time. The first one is my normal 100% hydration white wheat sourdough (Maya). The second is a rye sourdough at 100% hydration that I built starting from Maya 2-3 years ago and the last one is a stiff sourdough (50% hydration) that I normally use for sweet doughs. Normally only one of them is fed at room temperature and the others lay inside the fridge I feed them once a month. This time I did the opposite, I put Maya to sleep and revived my other 2 at room temperature. This is how I arrived having a jar of discarded sourdough based on a stiff starter and rye. You can understand now that my discarded sourdough is not at 100% hydration so if yours is, keep in mind to add more flour to adjust the hydration of the final dough.
These doughnuts turned out great! No deflation after baking, they kept the shape exactly as they were after baking. No sour taste either even if it came from discarded sourdough! I mentioned in the recipe the ph before baking especially to prove the lack of sourness.
I love them and my kids too. For sure, it will not be the first and the last time I do them with or without glazing.

Baked doughnuts (version 3)

 I love doughnuts but the idea of frying them makes me stay away from preparing them. I know they are tastier when fried, however, it does not compensate for the healthy aspects. That's why I almost always bake the doughnuts.

This is a version of dough where the rising agent is the baking powder. There is nothing wrong with baking powder, I do many cakes based on baking powder. The only thing that I do not like is that after baking, most of these cakes/sweets shrink a bit. It is the case for these doughnuts too.

Making doughnuts with this recipe has a big advantage: it is very quick! The baking takes time but the way I manage is to set an alarm every 3 minutes and 45 seconds and I take out the doughnuts and scoop another batch. During the baking, I do plenty of other things, like cleaning the kitchen or putting dishes on the cupboard so I do not waste too much time.

I like this version better than the ones I baked and published on my blog so far. (see Baked doughnuts and Baked doughnuts (version 2) )

There is however a version that I never tried before and tempts me so much.... wait for my next post.

Sourdough kougelhopf

Mommy, you made a google loaf! These were the words of my daughter when she saw this cake followed by a nice laugh together.

I've done sweet dough with sourdough before by transforming recipes based on baking powder into sourdough-based ones. Nothing new here but it is the first time I have followed a professional recipe. This actually comes to add pieces of knowledge to my quest to understand more about these mysterious creatures generically called sourdough.

I've also had a quest in perfecting recipes based on baking powder but I found a few disadvantages that almost made me give up. 

The first is the fact that all rely on the chemical reaction in the oven. There is no way to guess its behaviour in the oven only by looking at the dough before. Will it rise enough? Will it crack? Will it be soft inside? With sourdough, the dough is already well-risen when the dough is put into the oven and this gives a good prediction about what you'll gonna get.

The second thing that I do not like is that the baking powder-based cakes deflate slightly when taken out from the oven. This never happens visibly when the dough is based on sourdough.

There are disadvantages to baking with sourdough too: it takes time and you may get it sour!  Unlike bread dough, where you need to perform a series of steps, this dough is mixed, let to rest for 30 minutes, and then left alone to rise overnight in a warm place. The used starter is not a liquid one but a stiff one. Although you can quickly transform a liquid starter into a stiff starter in only one step this is not enough. There is a reason why pasta made is used for sweet dough: it reduces acidity. Pasta made has its own preparation steps in order to get it right for the dough and this actually takes one day: start with a sourdough bath, to reduce the acids, then feed it 3 times at shorter intervals (kept at warm temperature) to get it very active.

This was my first trial to get it properly done (in line with the indications) and I did my best to align. The ph of the starter I did not get it right during the feeds, I'll need to tinker with some methods/temperatures to get it perfect next time.

Analysing the cake, here are my thoughts: the rise was good but I believe there is a place for better; the taste was interesting and nice but I detected a bit of sourness that shouldn't be there. The cause is still related to the power of the starter to rise the dough and temperature.

If you want to know the original recipe, I invite you to check the book "Coffret Traité de boulangerie au levain" by Thomas Teffri-Chambelland. I have the French version but I understood there is an English version too. Please note that this book is not for beginners... it's about the science of baking and there are a few recipes presented too. But if you are a sourdough geek, I can only recommend this book(s). No hidden publicity here, just my honest opinion as a homemaker with a passion.

I will test more recipes with sweet sourdough in the future although clearly not as often as I'll do for bread. For this recipe, I'd make a few more adjustments to make it perfect but I have to tell you that my kids loved it as such. Here is the recipe:

Coconut Bundt


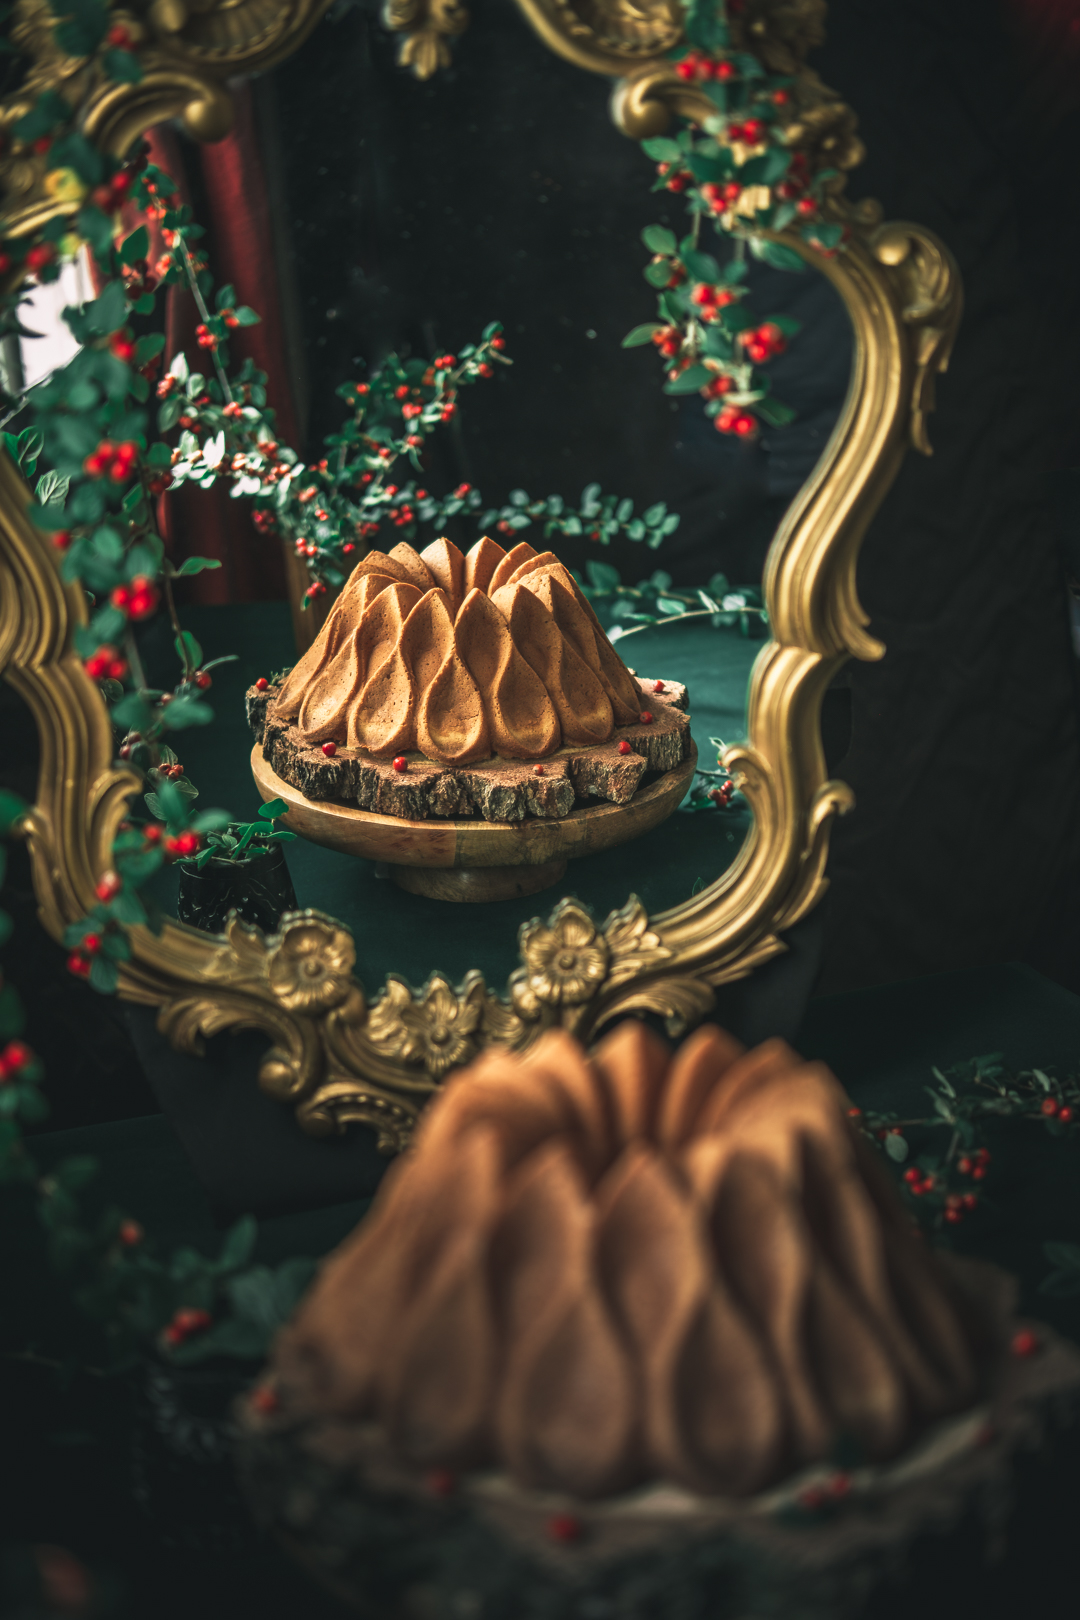
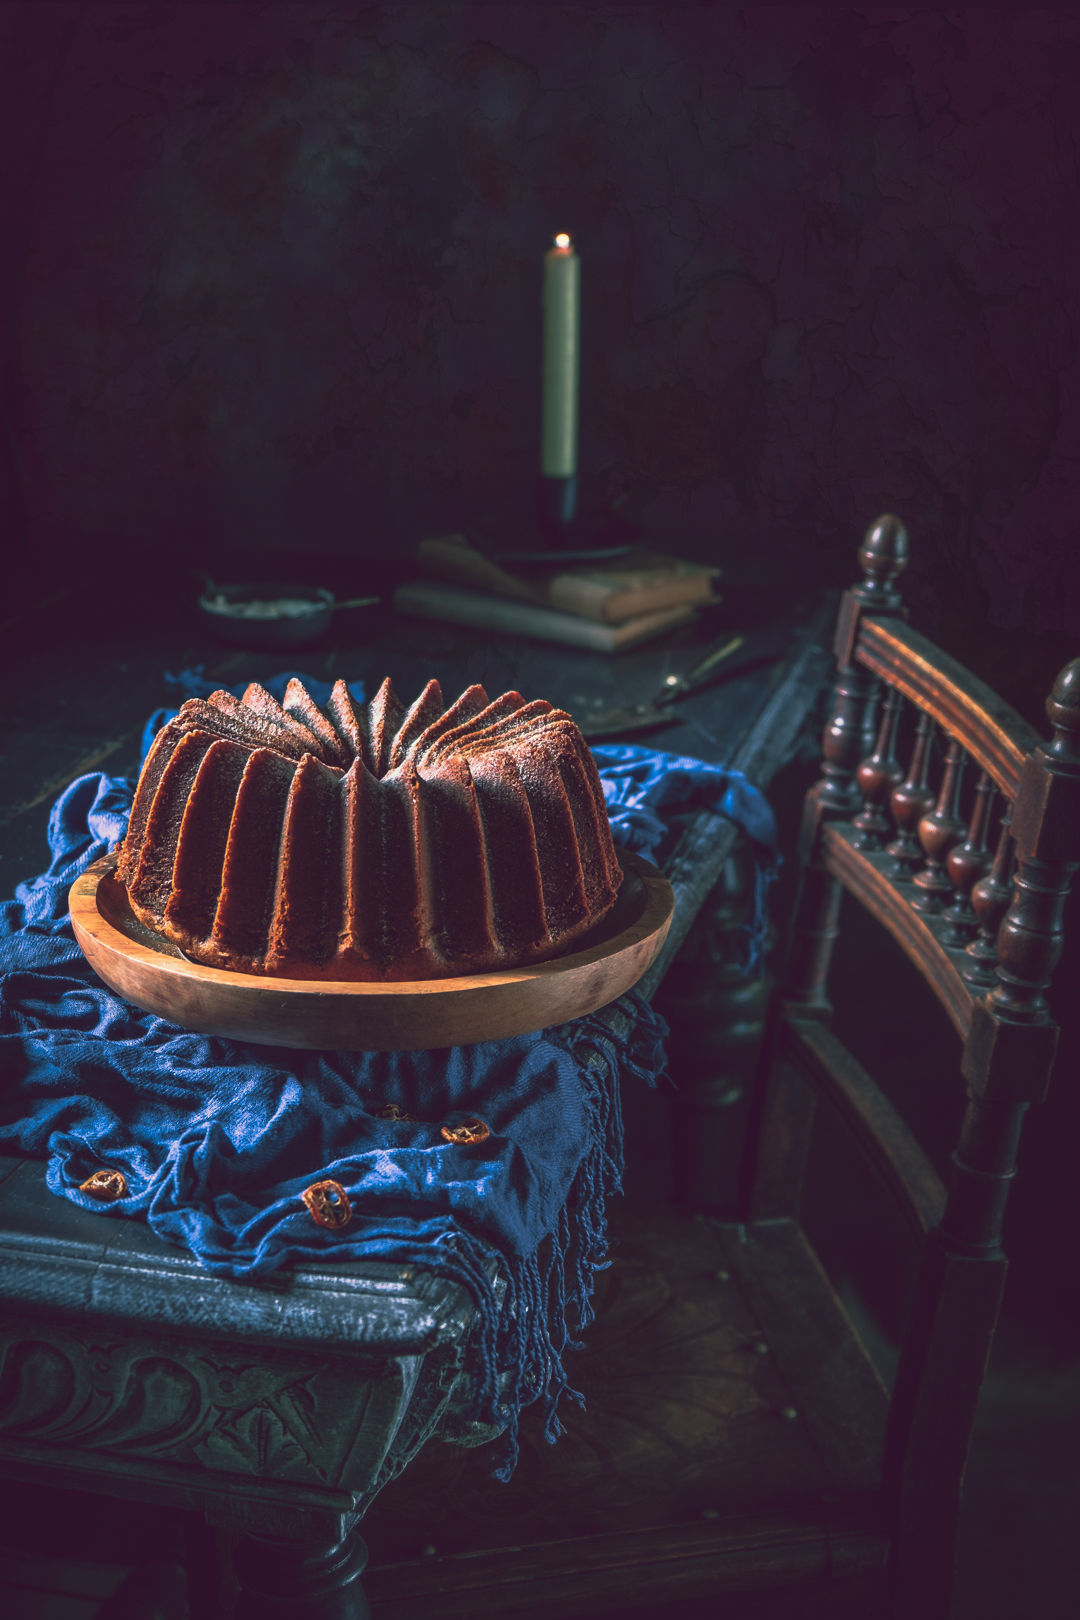
There are times I wish I lived in another century, but then I remember that I wouldn't enjoy all the remarkable progress the humans made since then. But I can close my eyes and dream that I was leaving in a countryside castle and enjoyed the style of those times. Then I can just open my eyes and I am back to our times. So convenient right?

I leave you to imagine the same and and a bit more... a bundt cake made with coconut.


Lemon Bundt Cake

When autumn starts to install, I too begin making bundt cakes.

I made this cake recipe for the occasion of my daughter's birthday. To be sure it would be a successful cake, I did it 3 times. The first time was a catastrophe. If you recall, I have a bundt cake book that I love in terms of a combination of ingredients but it is way unbalanced when it comes to quantities. So, every cake is a real challenge. But I do not give up, because this is how I learn to adjust the recipes. The more I fail, the more I search for the mistake and I fix it with the next bake. This is how I grow my experience with baking.

The first one rose nicely in the oven but when cooling it fell down to a level lower than before the baking. I've learned 3 lessons: first, the butter needs to be at room temperature when I bake this type of cake,  second, never trust the timing mentioned in the recipe book and third, if you feel there is not enough flour to make a consistent batter, simply add it. My cake was undercooked in the middle and overcooked on the crust. The combination of those factors led to the cake falling down. 

The second bake was a control bake and is the one you see in the photo. It turned out with a great crumb, exactly as I wished for. The third one was the cake that my daughter brought to school for her birthday and went exactly like the second one. 

I learned my lessons and I've put another brick in my baking experience.

Lavender Cake

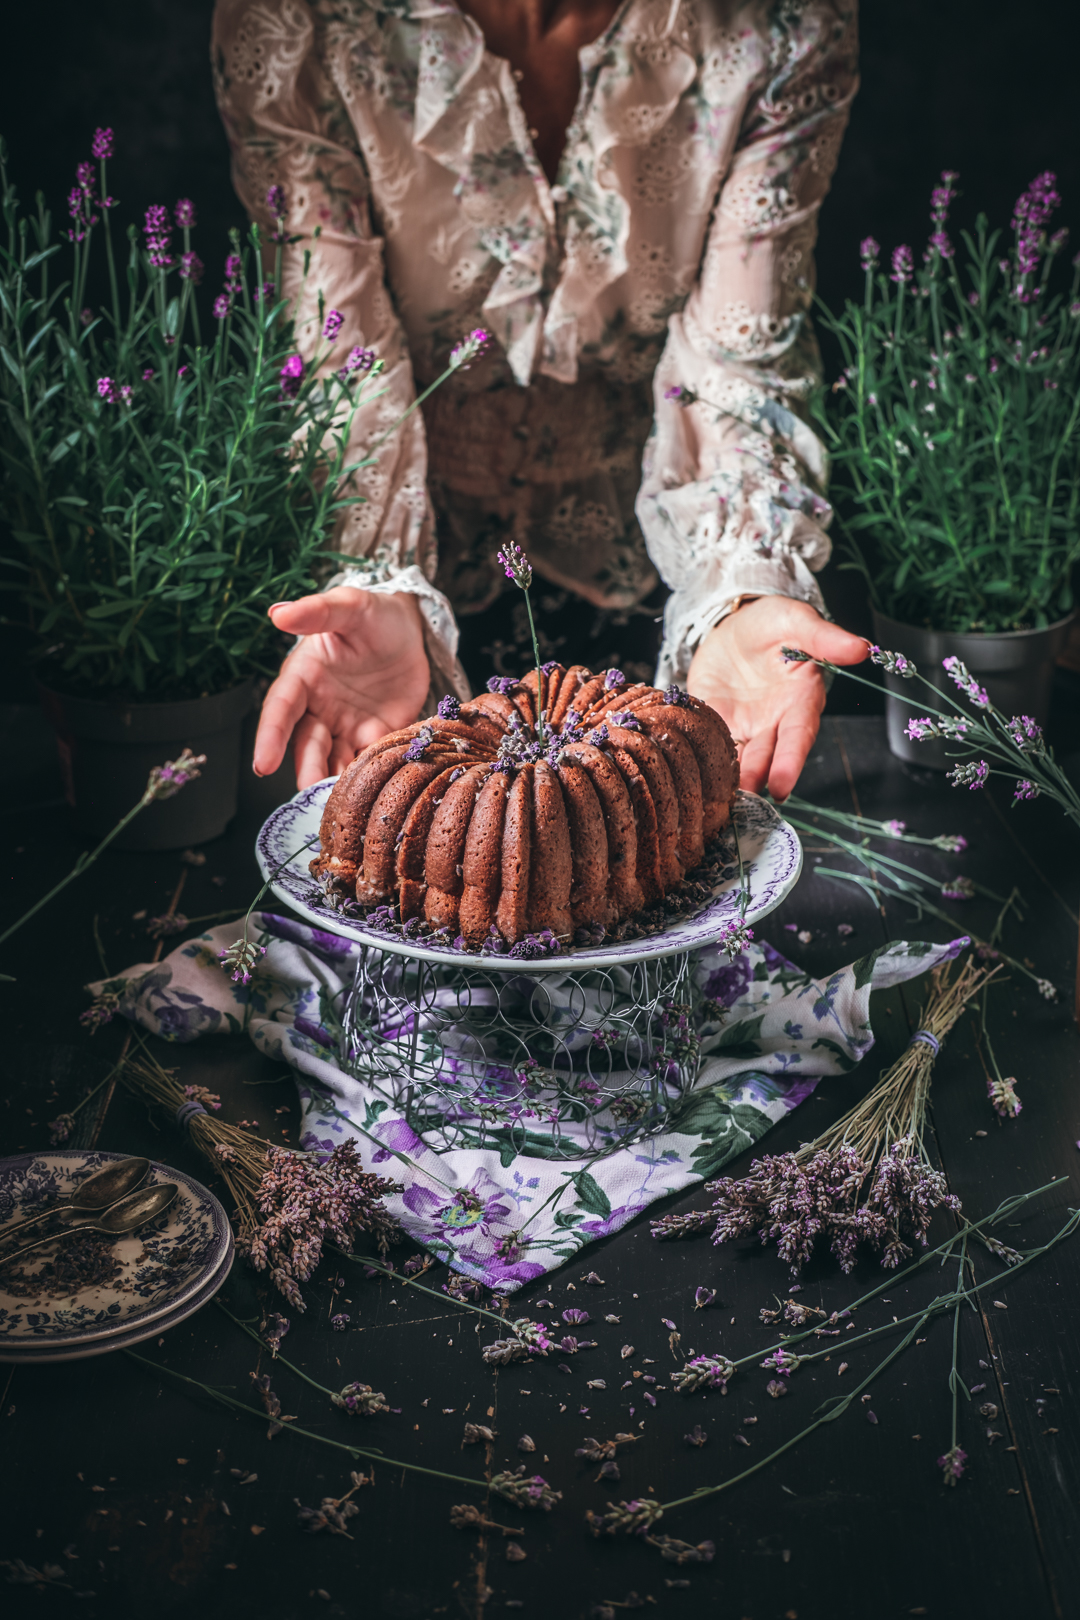
Lavender is such a beautiful plant to grow in your own garden! When the flowers are blooming the life turns to a blue-violet color.

It is not the first time I use lavender in cakes, I've done Lavender Muffins and I loved their subtle flavour and aroma. Here I come now, with a little cake that turned out to be a great success as my kids loved it from the moment they've seen it. It was difficult to keep it for myself for some time just to film it and photograph it.

Red Berry Cheesecake in Instant Pot

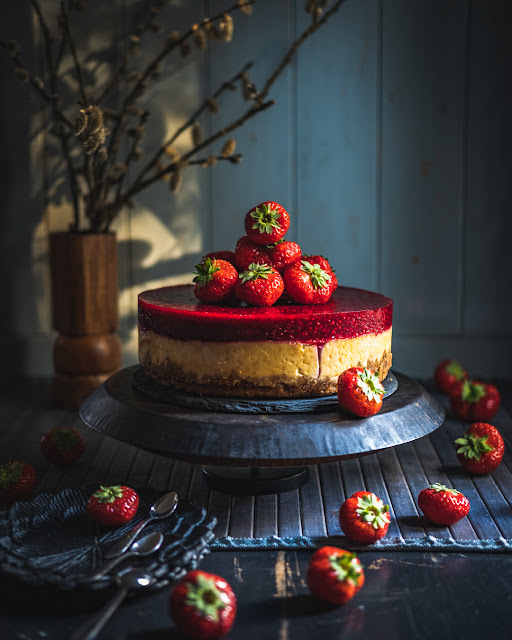
I do not know why, but I was always afraid of cheesecakes. Not to eat them but to make them. They crack, they are runny sometimes, and there are multiple ways you can get it wrong with a cheesecake. Well, the Instant Pot opened a door for me. I hated the classical way of putting water on a tray and putting the pan inside a classical oven. What if the pan is not leakproof? Then, handling a hot water tray is not very pleasant. With the Instant Pot, things are simpler and with fewer negative surprises. But this is not a commercial post for the Instant Pot, it is just my opinion. You can definitely bake this cake in a normal oven, too.

I made this cake in 2 versions, one including milk (or sour cream) and one without. The first one leads to a more creamy texture and the second one is more crumbly. The first one is soft, and the second is drier. I liked them both but my daughter detests cream texture in any cake. You can guess then which one was her favourite. 

You can do this cake without the fruity layer but it adds a full dimension to the taste of this cake. The first version I made was with strawberries, and the second was with raspberries. Both are exceptional and red berries are just an idea, you can use any fruit you want!

Sugar in this cake is kept to a minimum but it is just enough to enhance the taste of the cake. If you prefer very sweet cakes, feel free to add as much sugar as you like. Personally, I like cakes but I also like to stay on the healthy side of eating. Most of the time I do not eat the cakes that I make, they are for my kids but if I really want to eat a slice I would choose one that is the most appealing to me and this one was irresistible.

I hope you will like it too...

Instant Pot Cranberries Yoghurt Cake

I love baking in general, but steaming was not necessarily my daily way of cooking. I challenged myself to try pressure cooking lately and a whole new world opened to me. In fact, cooking with pressure was not a new thing for me. My mother gave me a big pressure cooker pot as a present at my wedding. I need to recognise it was a love and hate relationship... I was using it for a while then it was staying for months on the shelf. Now that I think back, I think the main reason was the practicality of that pot.
So, two lovely ladies told me about their experience with the Instant Pot and I convinced myself I want to try it. I can say it was a real turning point in how I am preparing my daily meals. In a short description: healthier and faster. I added as well to my family meals new dishes that looked so complicated before. Now everything happens in one pot...
I love to explore, to test the limits and I tried to bake cakes in it also. I understood what works in it and what is not. Instant Pot cooks with steam and moist types of cakes are appropriate. I baked a classic bundt and turned out OK but it was too dense for my taste. Then, I tried a creme caramel and worked perfectly. This time I made the yoghurt cake with a recipe from my mother. Of course, I had to adapt certain things but I am happy with the result.
This type of cake is usually baked in the oven between filo pastry sheets. I used a biscuit layer instead. I replaced raisins with dried cranberries (to be more accurate I think the ones that I have are actually lingonberries - in French is "airelles", please correct me if I am wrong).
What I love about it is that it is super simple to make it and it is firm enough to keep a slice on your hand and walk away. I gave it also to my kids at school as a snack.
You can play with some decorations and it will look as fancy as you wish.
If you do not have dried cranberries, use raisins or any dried fruits. I haven't tested but I think it works perfectly with fresh berries also. Good idea, I must try this too, could be very interesting.
This cake can be called a pudding. It works with the same principles, a cereal that expends in a diary liquid. What is special though is that I use homemade yoghurt, not milk. Almond essence and lemon zest give a specific and fantastic aroma to this cake.
It will for sure enter into my regular bakes due to its simplicity and delicious taste.

Here are the ingredients...

Chocolate festive cake


Chocolate festive cake


This was the cake for my husband's birthday last week. It was also the test cake for my son's birthday cakes. All the 3 followed the same principles, one sponge cake cut into layers with chocolate ganache between them. Similar compositions and tastes but three different looks. You may find the ones of my son in my previous 2 posts. 


Every cake had a different target: this one to look more festive, the "5" cake to be a child's cake and the last one to be easily transported. Which one do I like the best? Difficult to say as I associated them with special occasions. Doing all of them in one week was a marathon but with every challenge like this comes a lot of lessons learned.


The first lesson learned was to master the sponge cake both in cocoa or classic versions. Learning its tricks took me sometime over the years and now I can happily say that I feel comfortable baking them.


A second lesson learned was to play with ganache. This thing is super sensitive to temperature and depending on the purpose you might want a thicker or thinner texture. I found myself putting the bowl sometimes in the microwave to heat it a bit and sometimes in the fridge to cool it. It is however the easiest cake filling that you can do (after the basic whipped cream of course). I like simple things for basic staff and focus more on the artistic part of it.

You may find the complete recipe for this cake below.

Race cake


This was the anniversary birthday cake of my son. It took me a lot of time to prepare it and even more to make all the decorations. do I regret spending so much time on just a cake? Not even a minute. I made it with all my heart and I would do it again if needed.

I divided the making of this cake over 2 days: on the first day, I baked the sponge cakes and prepared the ganache, on the second day I shaped and layered them and prepared all the decorations.

The decorations took me almost a full day and I was helped by the little one, placing the big white and black squares on the side. My daughter participated also in the decoration process so it looked more like a family cake.

But a good cake doesn't only have to look nice it also needs to taste good. The combination of cocoa sponge cake and chocolate ganache is heaven. The guests appreciated the cake to be light, not overly sweet and delicious. The kids invited to the party loved it too, as most of the plates I cleaned up after were empty.

I was very careful with the sugar on this cake. There is a huuuuge (for me at least) amount of sugar paste (~750g) to cover the cake. The sponge cakes have 200g of sugar each, but I used only 1.5 sponge cakes, so I can make a total of 300g. There is also a good quantity of sugar in chocolate and there is no need to add more. Then another 100g for the syrup. If you start counting, the sugar sums up, however, remember that chocolate in its pure state is bitter and children do not love it like that. So a certain amount of sugar in this cake is a must. The trick was to find the right balance and I can happily say it was perfect.


Chocolate coated bundt cake

Last week it was a marathon of cake baking for me. With 2 anniversaries in the family, I managed to bake 4 sponge cakes for 3 finished festive cakes. It was a successful challenge and, as the time was so short, there was no place for tests or failures.
I went with the version of the cake that I master the best: the sponge cakes. The one you see in this post is the last one, made for the anniversary of my son at the school. It might look simple but is not. Basically, it is a sponge cake with the bottom cut in through the centre of the cake to introduce a chocolate filling, then covered back with the removed parts of the cake. The glaze was practically painted with warm chocolate ganache, as it was too thick to reveal the beautiful shape of this bundt. A thinner glaze would have worked better but I had to choose one that hardened to avoid transport issues.
Unfortunately, I do not have a photo with the inside as it was not cut by me but I will repeat this process with a future cake for you to see.

Happy birthday, my little bunny! I do not know when these years have passed since you arrived in this world, but you brought so much happiness and joy into our lives!

Rum Raisins Mini Cakes


The reason why alcoholic drinks go into cakes is mainly for aroma. Do not worry about alcohol, it will just evaporate during baking so it is fully safe to give these cakes to your kids or to eat them before driving.
When it comes to rum, my mind goes to pirates. I am not a big fan of this drink but I love the aroma. For cakes, you can use rum essence in general which is much more concentrated in terms of flavours but the drink itself can go as well. Rum and raisins are an undisputable match, both the taste and flavours go so well together.

This is a simple cake and I noticed that it match better small moulds, rather than big ones. It has a tendency to retract a bit when cooling no matter the baking time. They go well in cupcakes, mini cakes or bundtlettes moulds. However, the taste and texture are just perfect and I invite you to try it...

Marble Bundt Cake


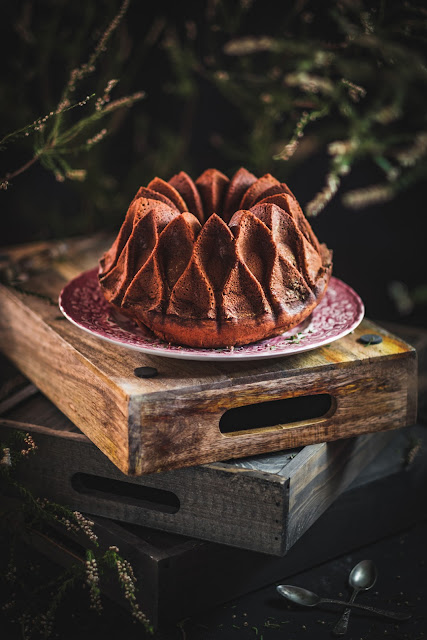
During my childhood, my mother used to have a limited set of cake recipes that she did over and over again. She was not at all in the mood to try new recipes, she always took the beaten road in the kitchen. But those cakes she was doing were always 100% success guaranteed. One of them was called "chec", a super simple recipe with eggs, flour, butter, sugar and a bit of cocoa to colour it. This cake had a specific taste and texture: super fluffy and soft and almost melting in your mouth. The crust, although a little crunchy was also melting in your mouth. The cocoa was added only for the interior aspect and not to influence too much the taste. At least this is how my mother was doing it.
I found this recipe in one of my books and I was tempted to try it. It was only when I tasted that my mind travelled in time and remembered me in an instant about my childhood "chec". I sliced it and gave a piece to my kids and one to my husband. After the first bite, my husband exclaimed: ÿou made "chec". Well, it was obvious then that the memory I had from childhood was not just mine, it was his also because it was a very popular cake in Romania back then. Probably still is because of its simplicity and tastiness.
Regarding the original recipe, I had to adjust seriously. First, I had to measure the ingredients in cups and then weighted them in grams. That is because, if I want to redo the recipe, I always prefer grams for accuracy. But the original book had the wrong quantities indicated in grams. (eg. 21/2cups of flour does not equal 625g of flour, but only 300g). The second was the sugar, 400g? no way... I reduced it to 150g and honestly, I didn't feel it needed more. Third, I do not find buttermilk here so easily. I can replace it with milk and lemon juice, but I only used milk. If there is no acid (like the lemon juice or the one from buttermilk) the baking soda is useless, so I just removed it and increased the baking powder quantity. The cocoa, from 125g indicated, I put only 9g, as I only wanted it for a bit of colouring. I made this cake before with 30g of cocoa powder and the layers were distinctively dark and with chocolate flavours. If this is what you are looking for, feel free to add more. For me, the 9g were just perfect for my purpose.
With all these changes, I think there is little resemblance to the original recipe but I will note it down just to indicate from where my inspiration came from.

I simply love this cake and is one of the few I would eat myself as it creates more than just a sweet pleasure, it brings back memories. This is the perfect cake also for the snack of my kids in school, so I am sure I will revisit it again and again.

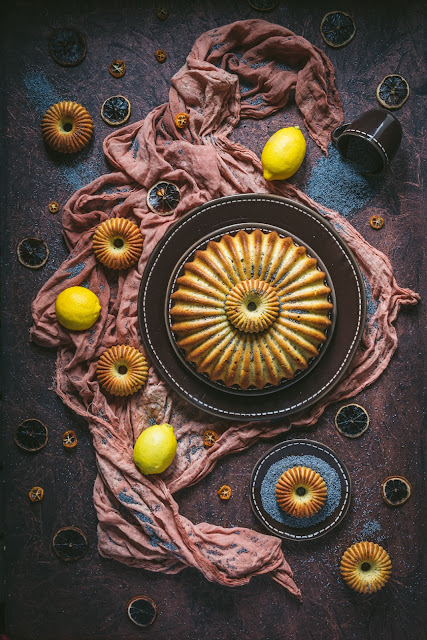
Lemon Poppy Seed Bundt Cake(s)

I've learned my lesson with the Bundt cakes recipe book and now I can easily spot where the errors are. Two cups of flour do not translate into 500g but 240g. You can imagine how off my recipes were when I was trying to make them by weight? But it is OK, now that I learned the trick to double check the quantities in both measurements, things look more encouraging.

I promised to come back with some tricks I learned during my baking researches and I would like to share them with you here. This is the science of baking so read them carefully.

One thing I noticed is that some recipes call for baking powder while some are calling for baking soda. Some, like this one, is calling for both. Have you ever wondered why and when to use one or another?

Baking soda (sodium bicarbonate): 

  • Baking soda is an alkaline substance that reacts only with acidic ingredients like buttermilk, lemon juice, cocoa/chocolate, sour cream, brown sugar, yoghurt, vinegar. If none of them is between your cake ingredients, then the baking soda does not help rising your cake. 
  • As a general rule, use 1/2 teaspoon of baking soda per cup of acid ingredient.

Baking powder: 

  • Baking powder instead is more versatile as it is a combination of baking soda (base), cream of tartar (acid) and a bit of cornstarch (to block the reaction between the two while on the shelf). So, in its chemical structure, it already contains an acid.
  • As a general rule, use 2 teaspoon baking powder per cup of flour. 
  • too much use of baking powder in a cake gives a metallic, more salty and acidic taste

Baking soda is more powerful than baking powder. If substituted by baking powder, you need to add a higher quantity for baking powder. (usually a 1:3 ratio, for example, 1 teaspoon of baking soda can be replaced by 3 teaspoons of baking powder)

Neither baking soda nor powder is particularly healthful or harmful when used in the usual quantities. They are however chemically obtained substances used in baking (and not only).

You use both when there is not enough acid ingredients and you need an extra lift from the baking powder.

None of them will match the benefits of a cake risen by sourdough but this is another story.


Enough with the leavening agents, let's talk about this cake(s).

I've got this silicone set of moulds some time ago and Ifind that they create an incredible visually pleasant cake. I have not used hem very often because they are not very practical: they are difficult to fill in (not like metallic bundt pans) and they have a very small size. The little ones are even smaller than a normal size cupcake and the big one probably doesn't take more than 3-4 cups of butter. But they look super nice together and I love them.

They rose nicely in the oven which is a good sign that the balance of ingredients was right. The batter looked like a batter and I had great hopes before baking them. I wish I had known the quantity I needed for all of these moulds before as a cup more would have been perfect to fill in in full the big bundt.

However, I am very happy with the end result. Especially that after reducing the sugar in almost a quarter from the original recipe (but sssht, this is our secret!)